What is a room?
A room is your shared workspace. It’s a branded hub where customers or teammates find everything they need in terms of content, forms, timelines and next steps. It allows you to guide sales, onboarding, or internal processes in one shared link.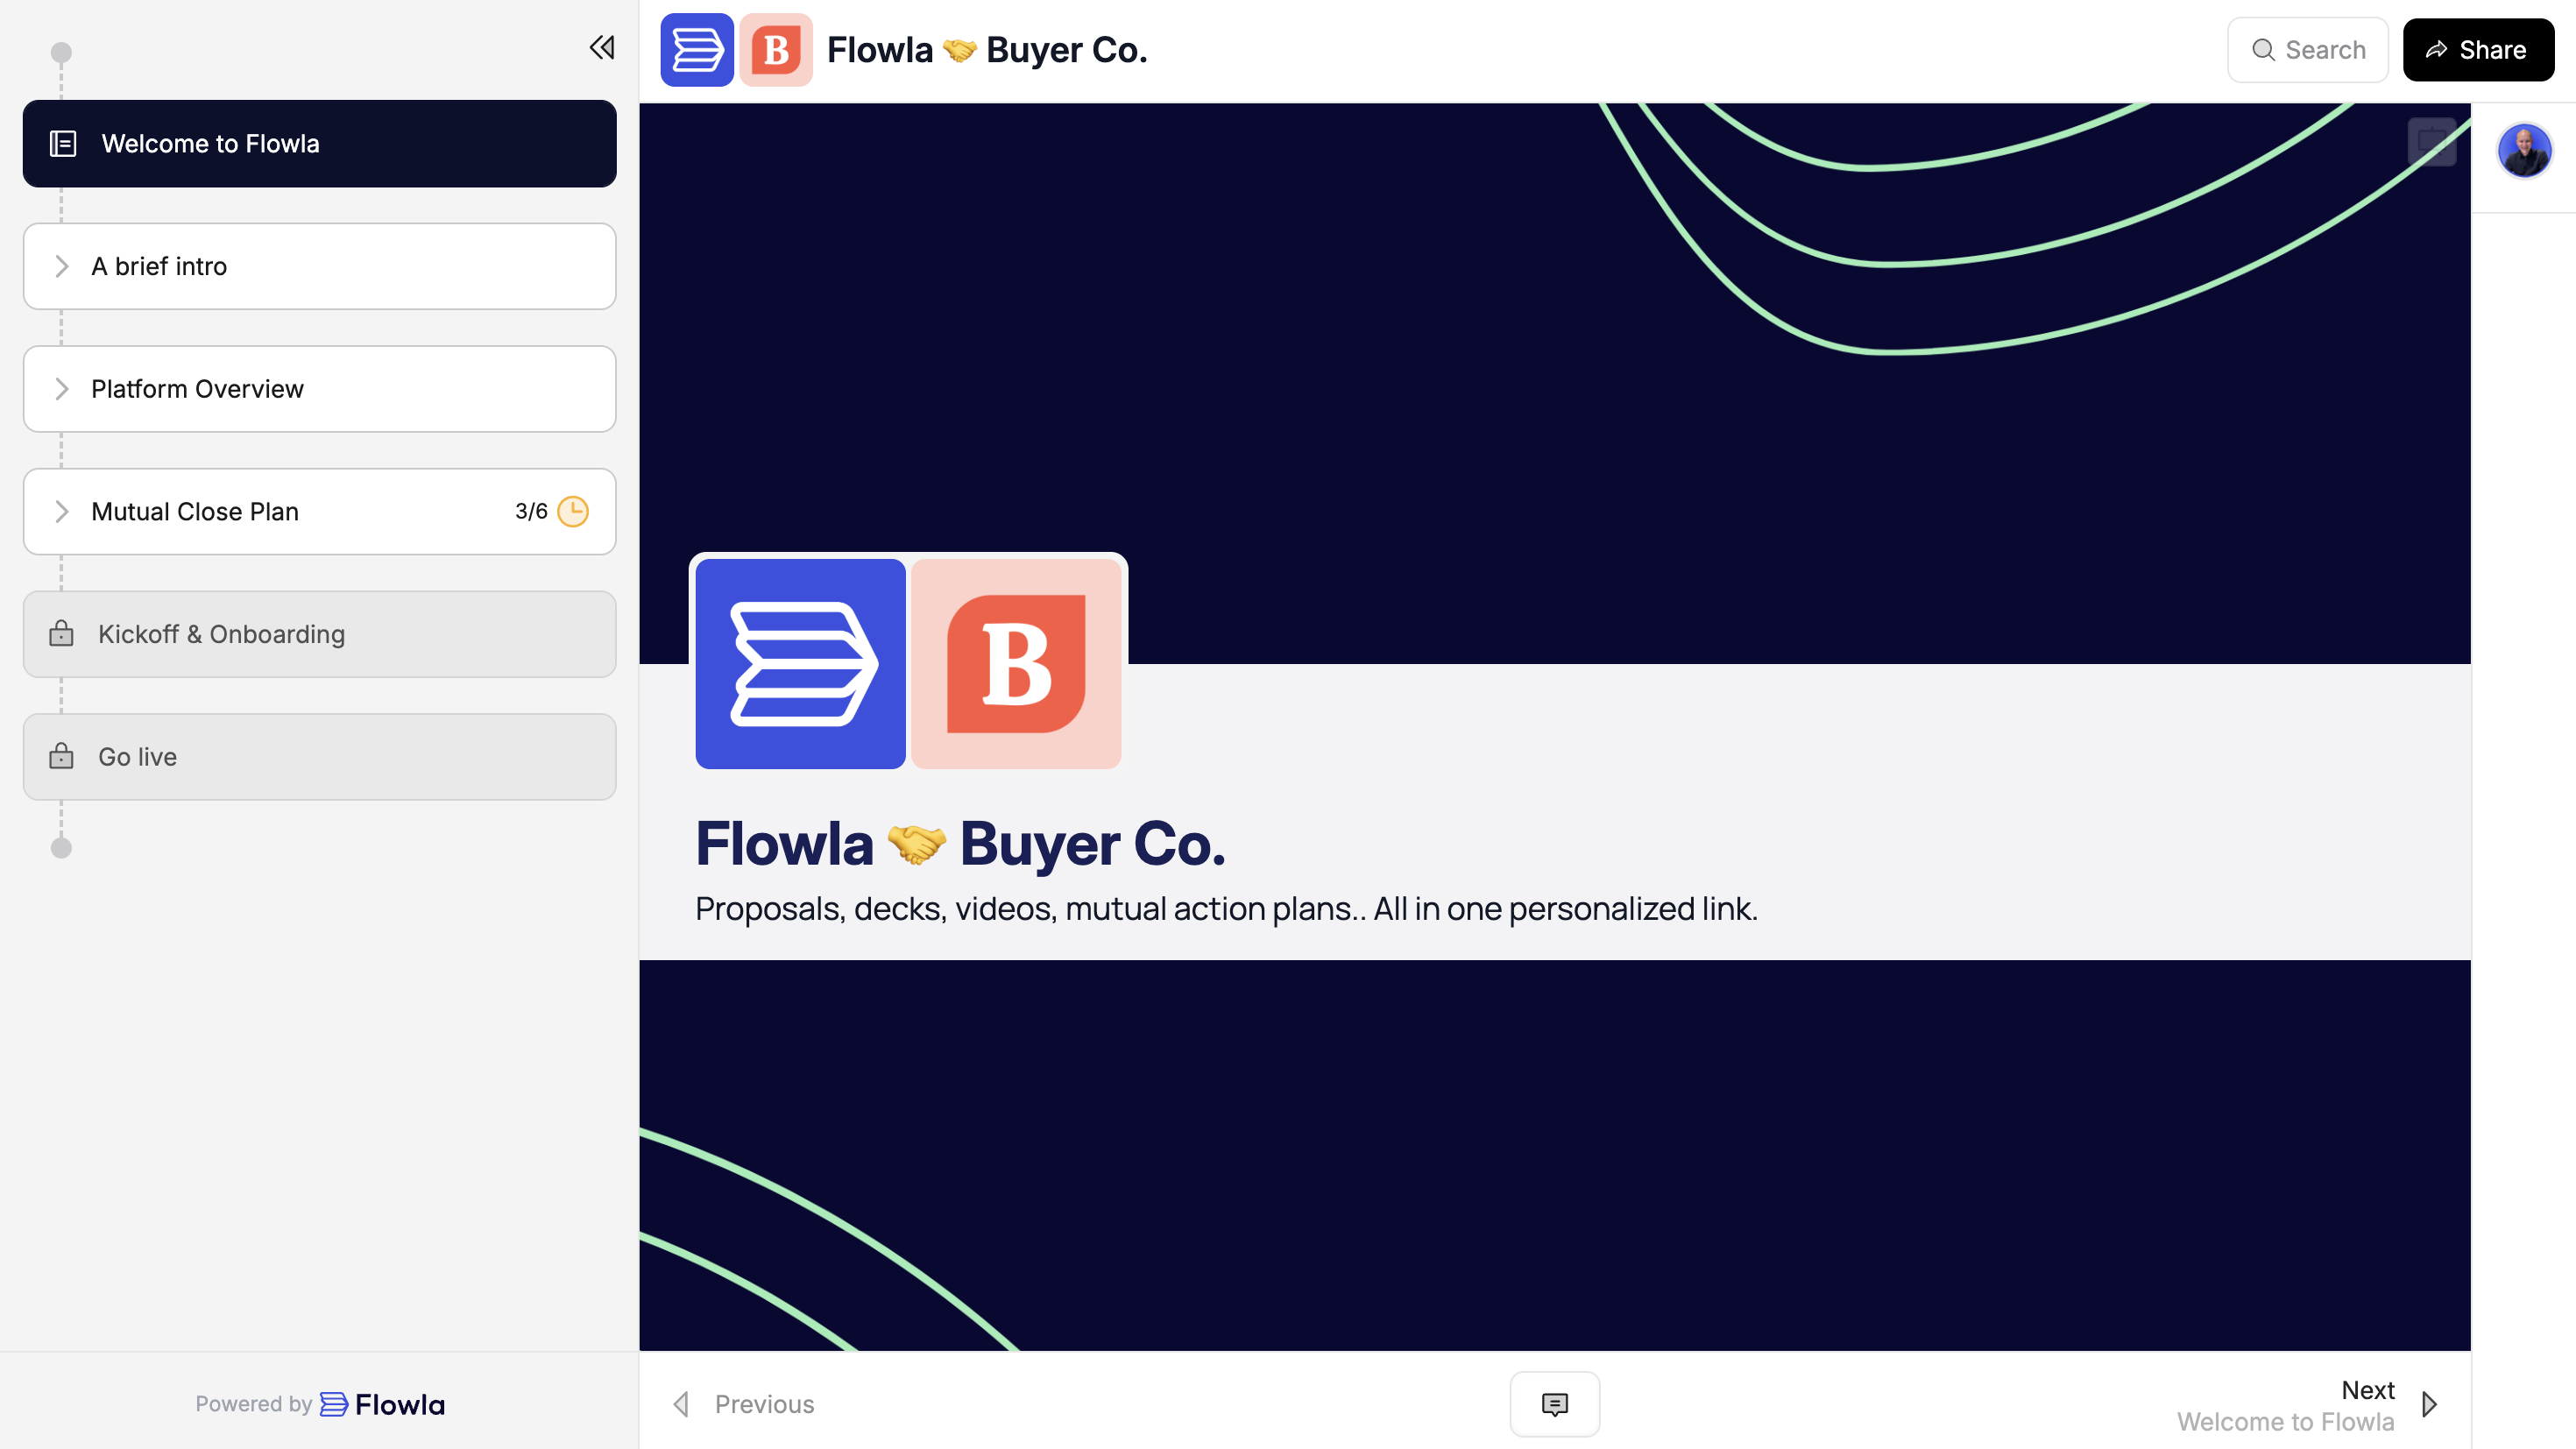
Step by step guide
Step 1: Create a template
Templates are the foundation of Flowla. They allow you to centrally manage your processes and ensure consistency across your team. Start by creating a template for your main use case, then create rooms from it. Create more templates as you go.Need help getting started?
Your customer success manager can help you build your first template with a personalized workshop.
This service is only available depending on your plan.
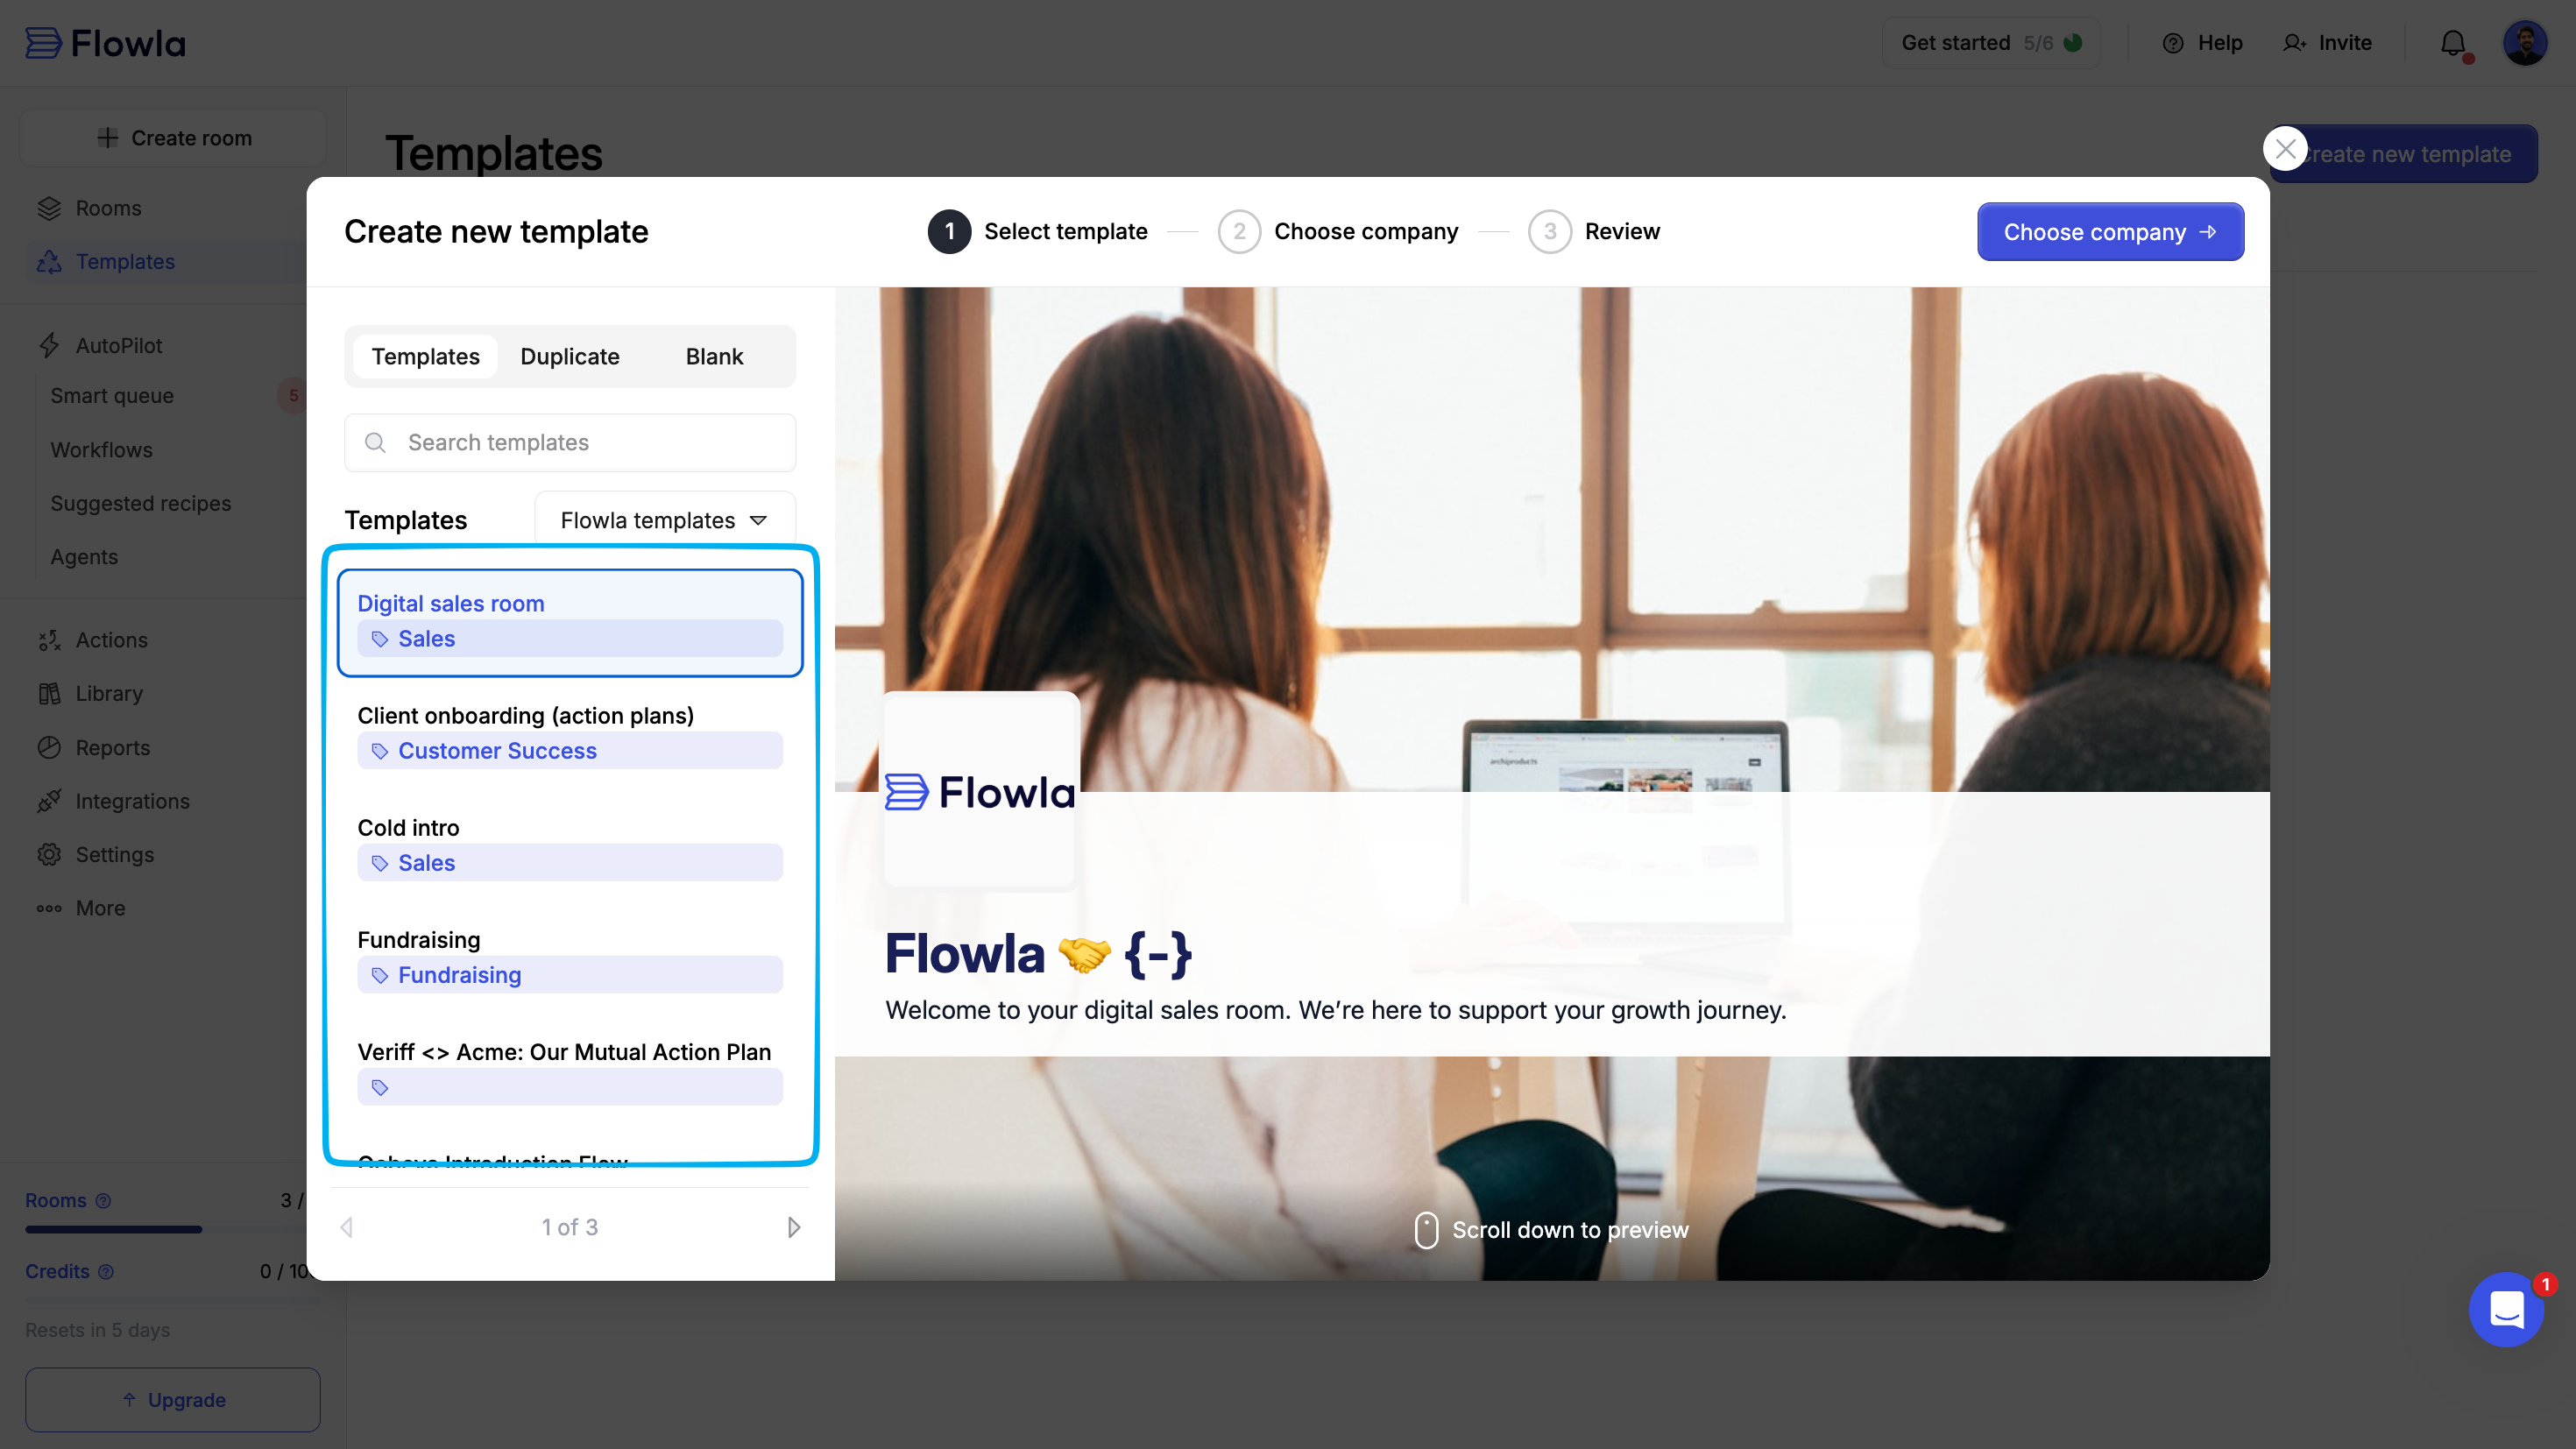
- Start from a Flowla template
- Create and edit a blank template
Flowla templates are built with best practices in mind and designed to get you started quickly.
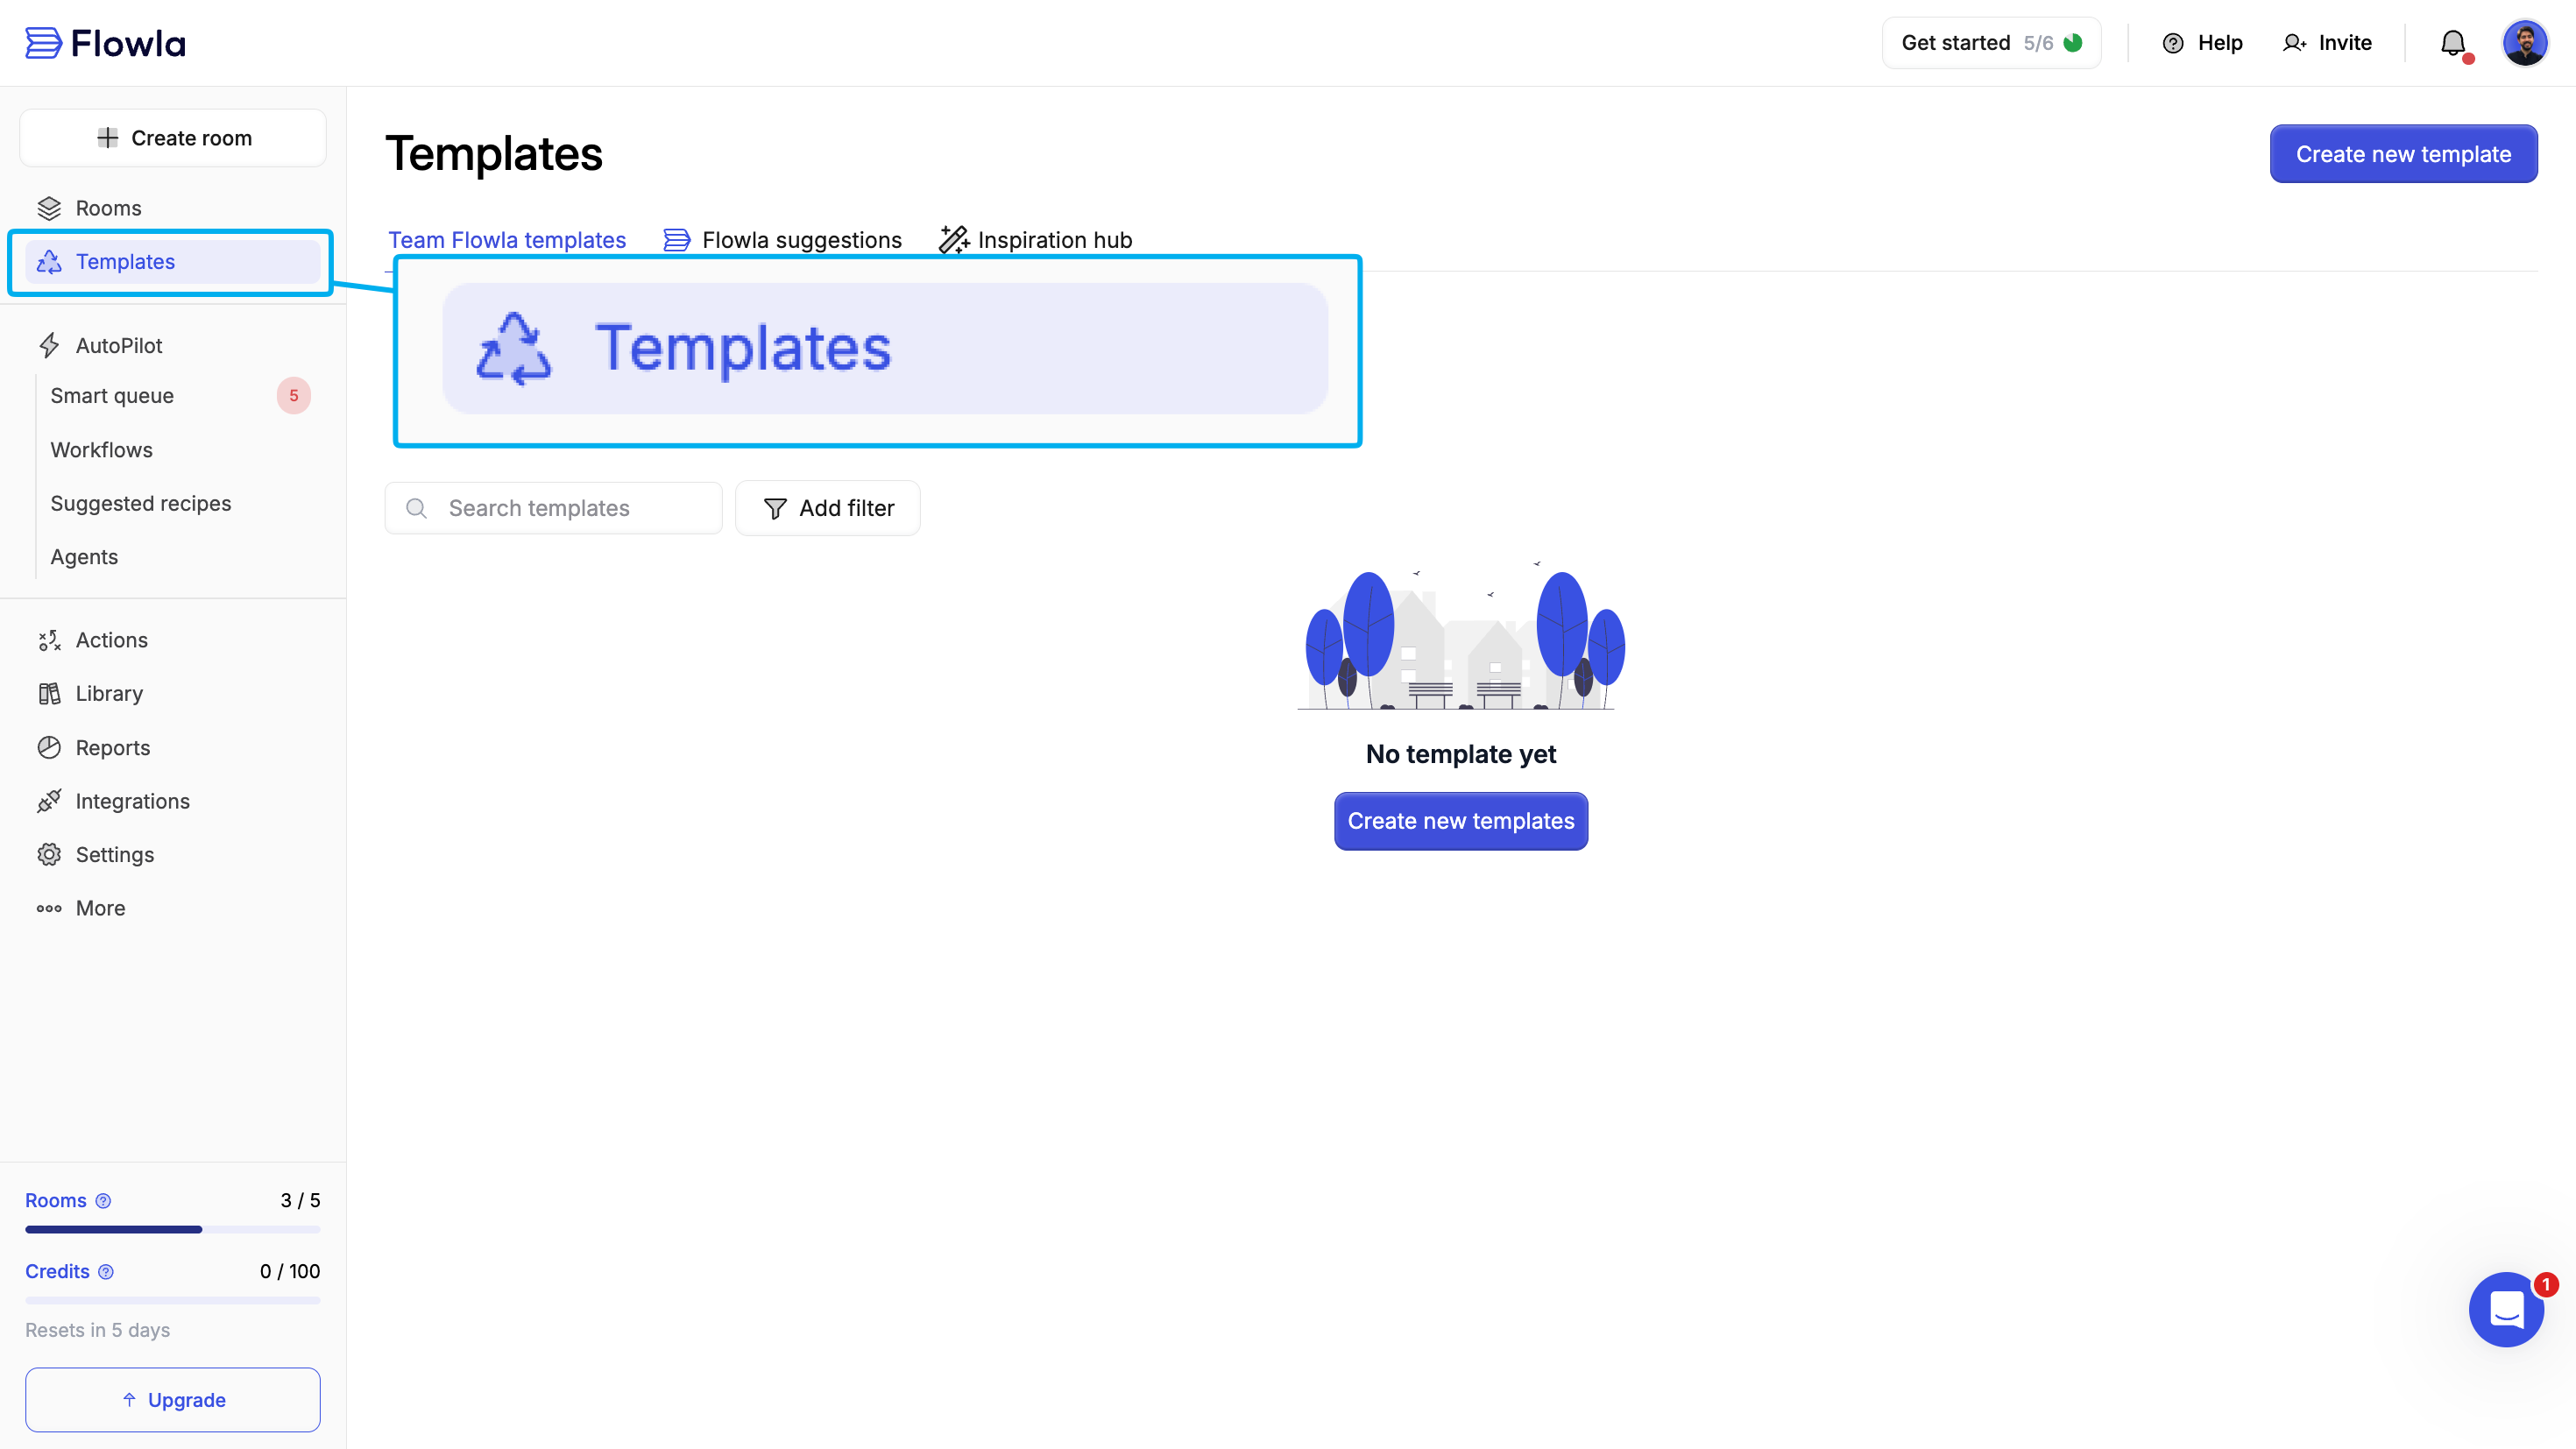
Click 'Create new template'
Explore Flowla’s pre-built templates organized by use case (e.g., Sales, Onboarding, Customer Success).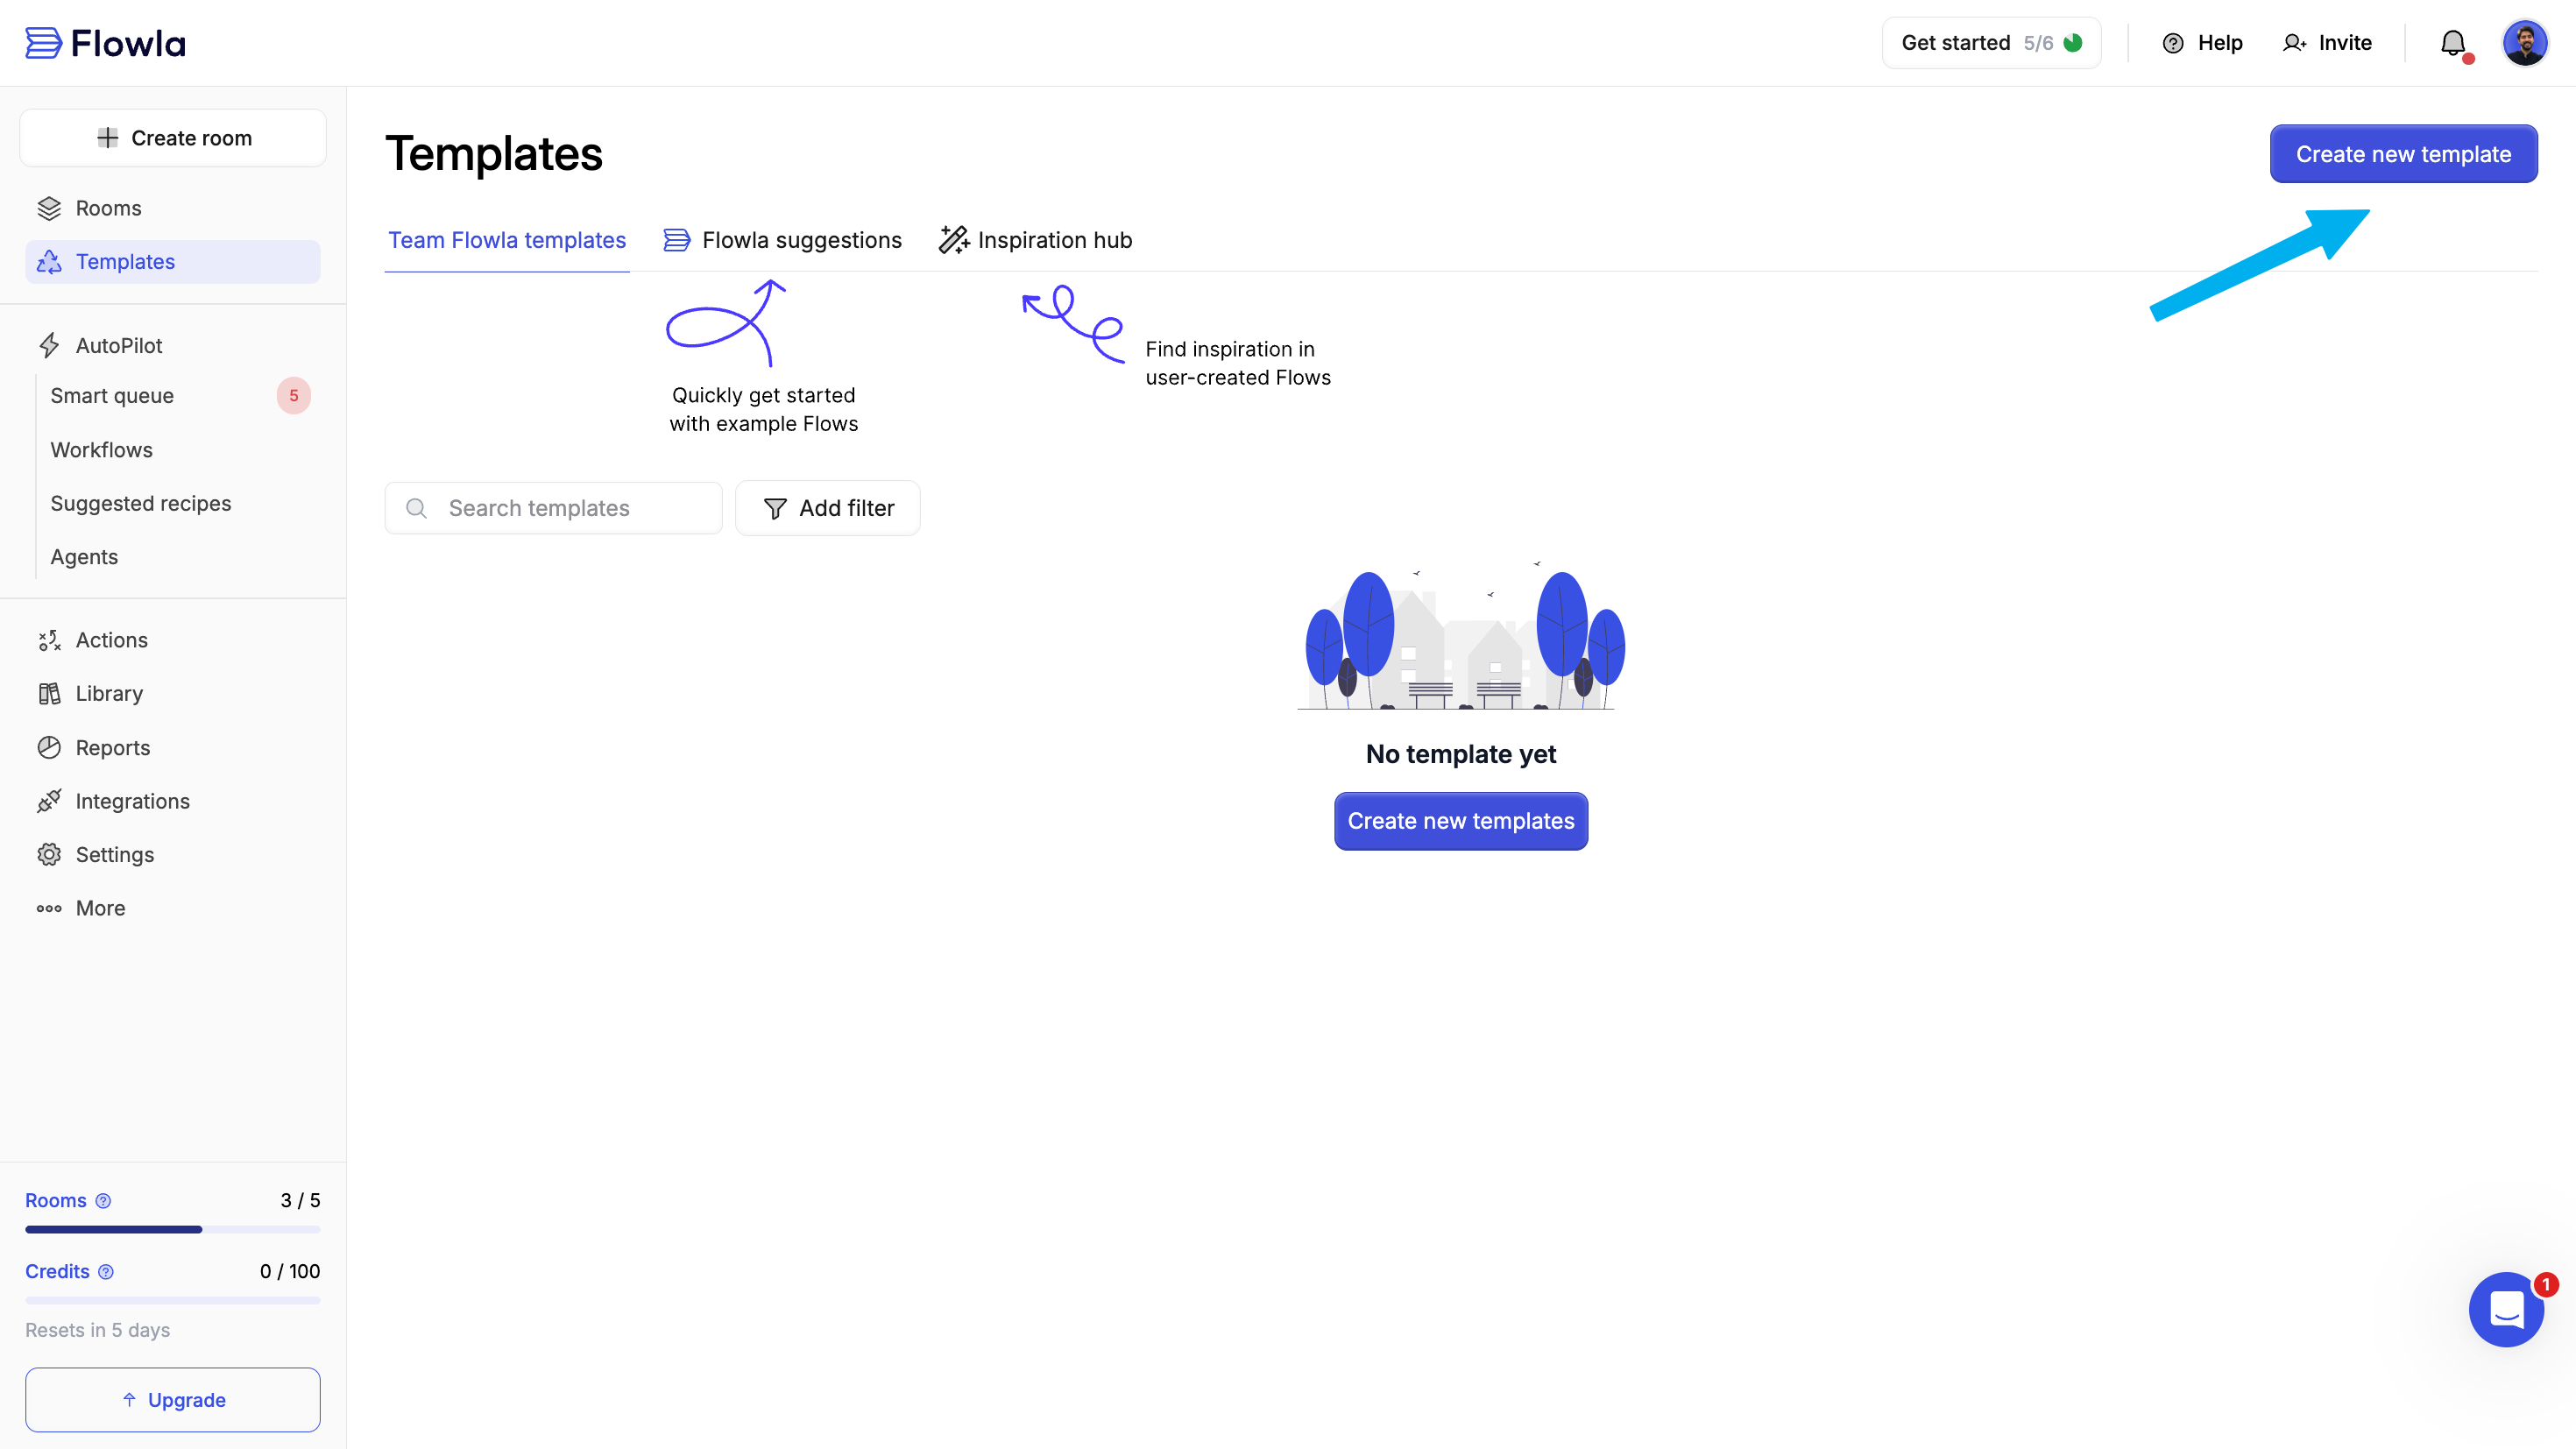
Step 2: Edit your template
Customize your template with sections, content, and actions that match your process.Customize sections
Sections represent stages in your process and create a clear plan for both your team and your prospects.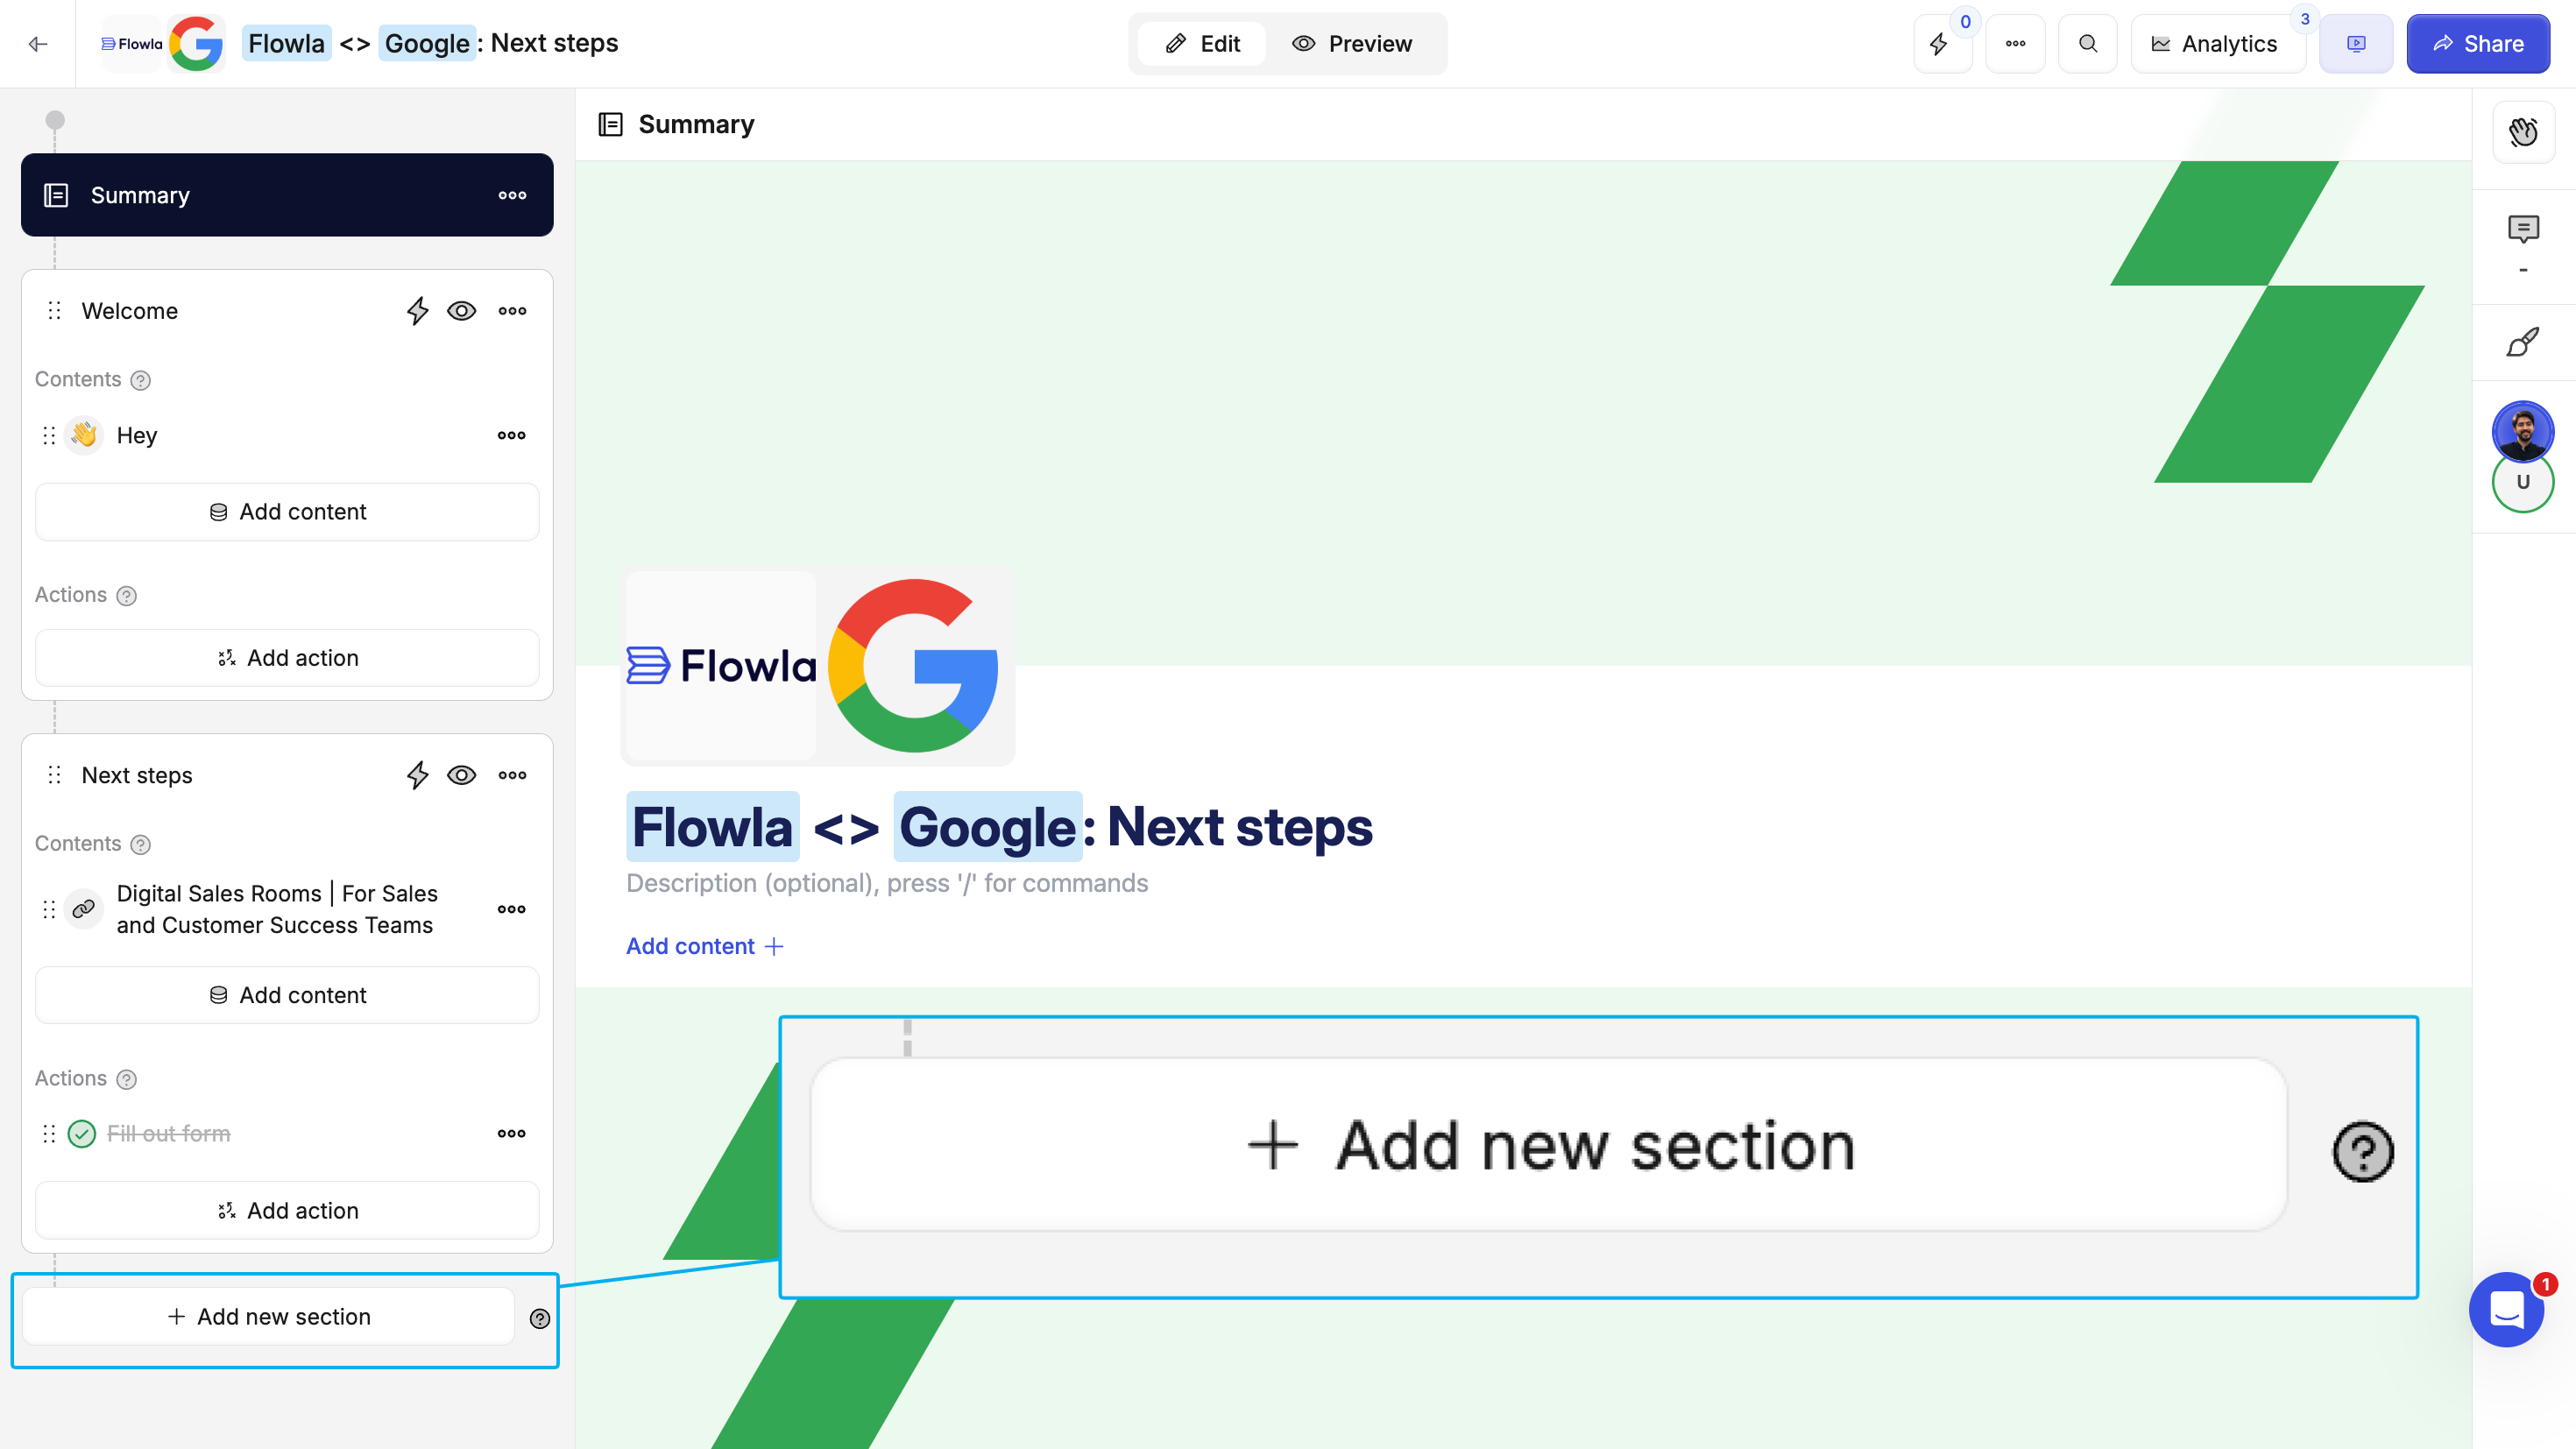
Customize content
Add the materials your customers need to move forward.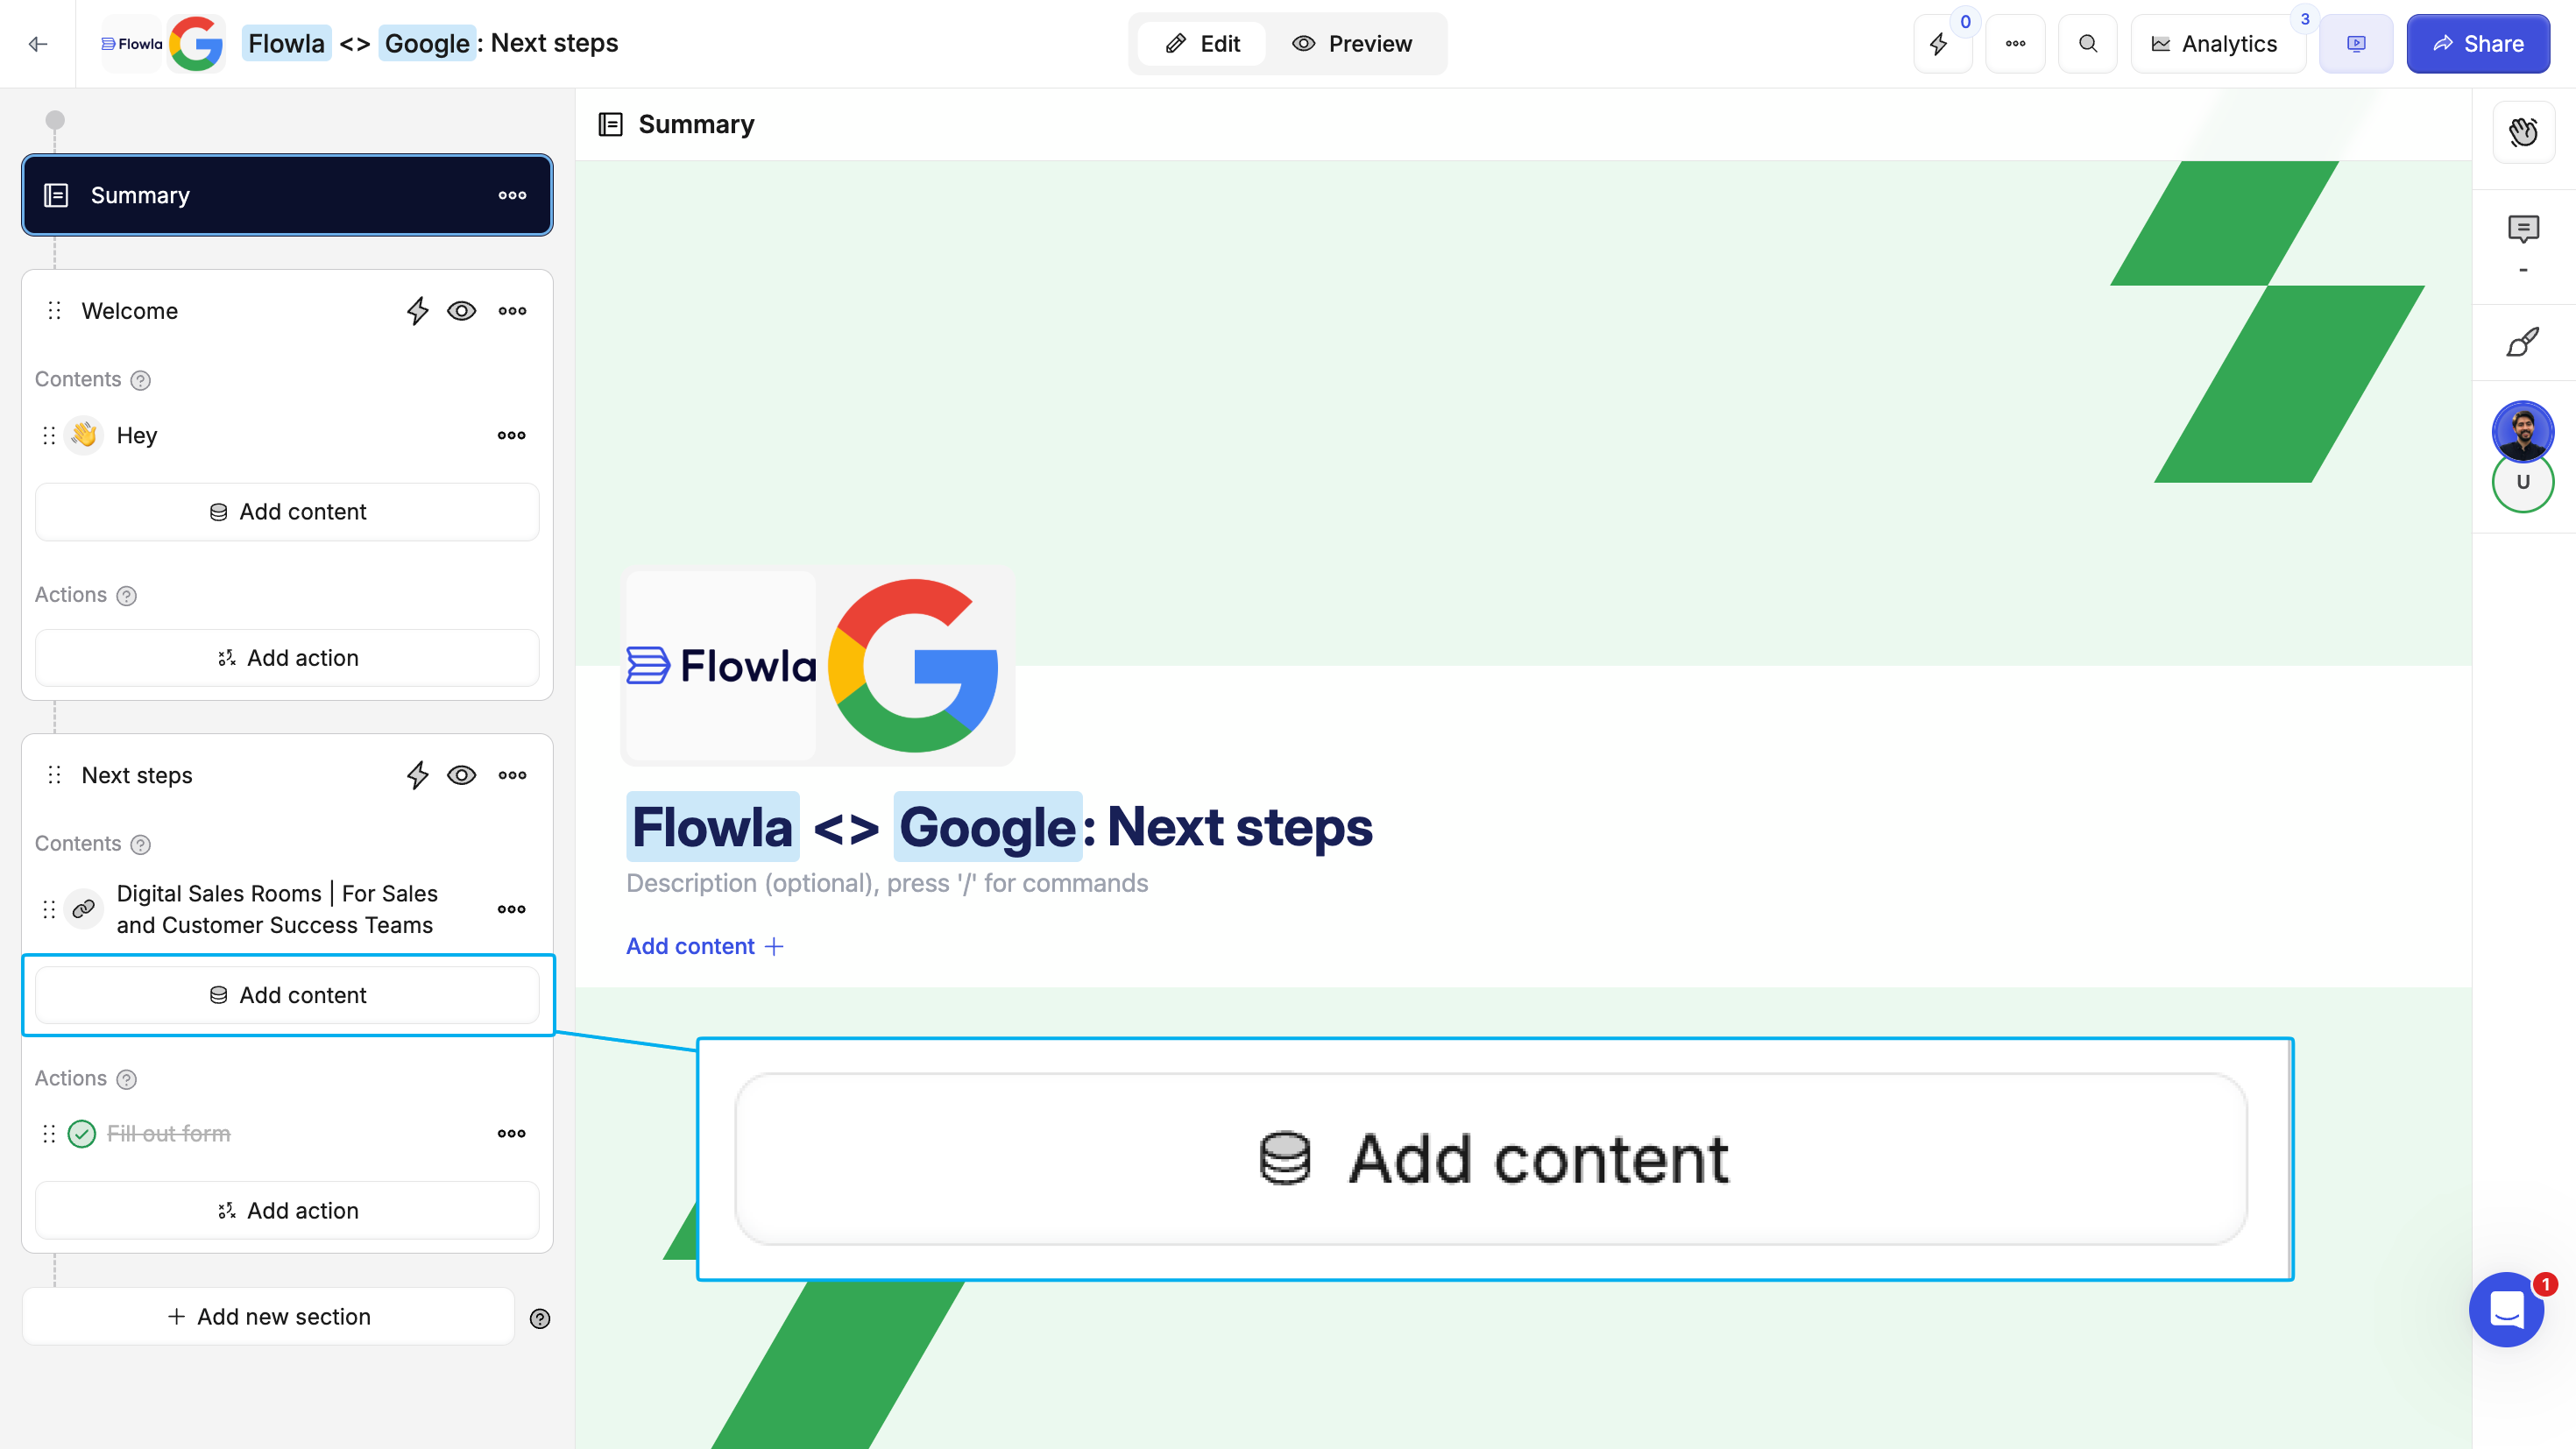
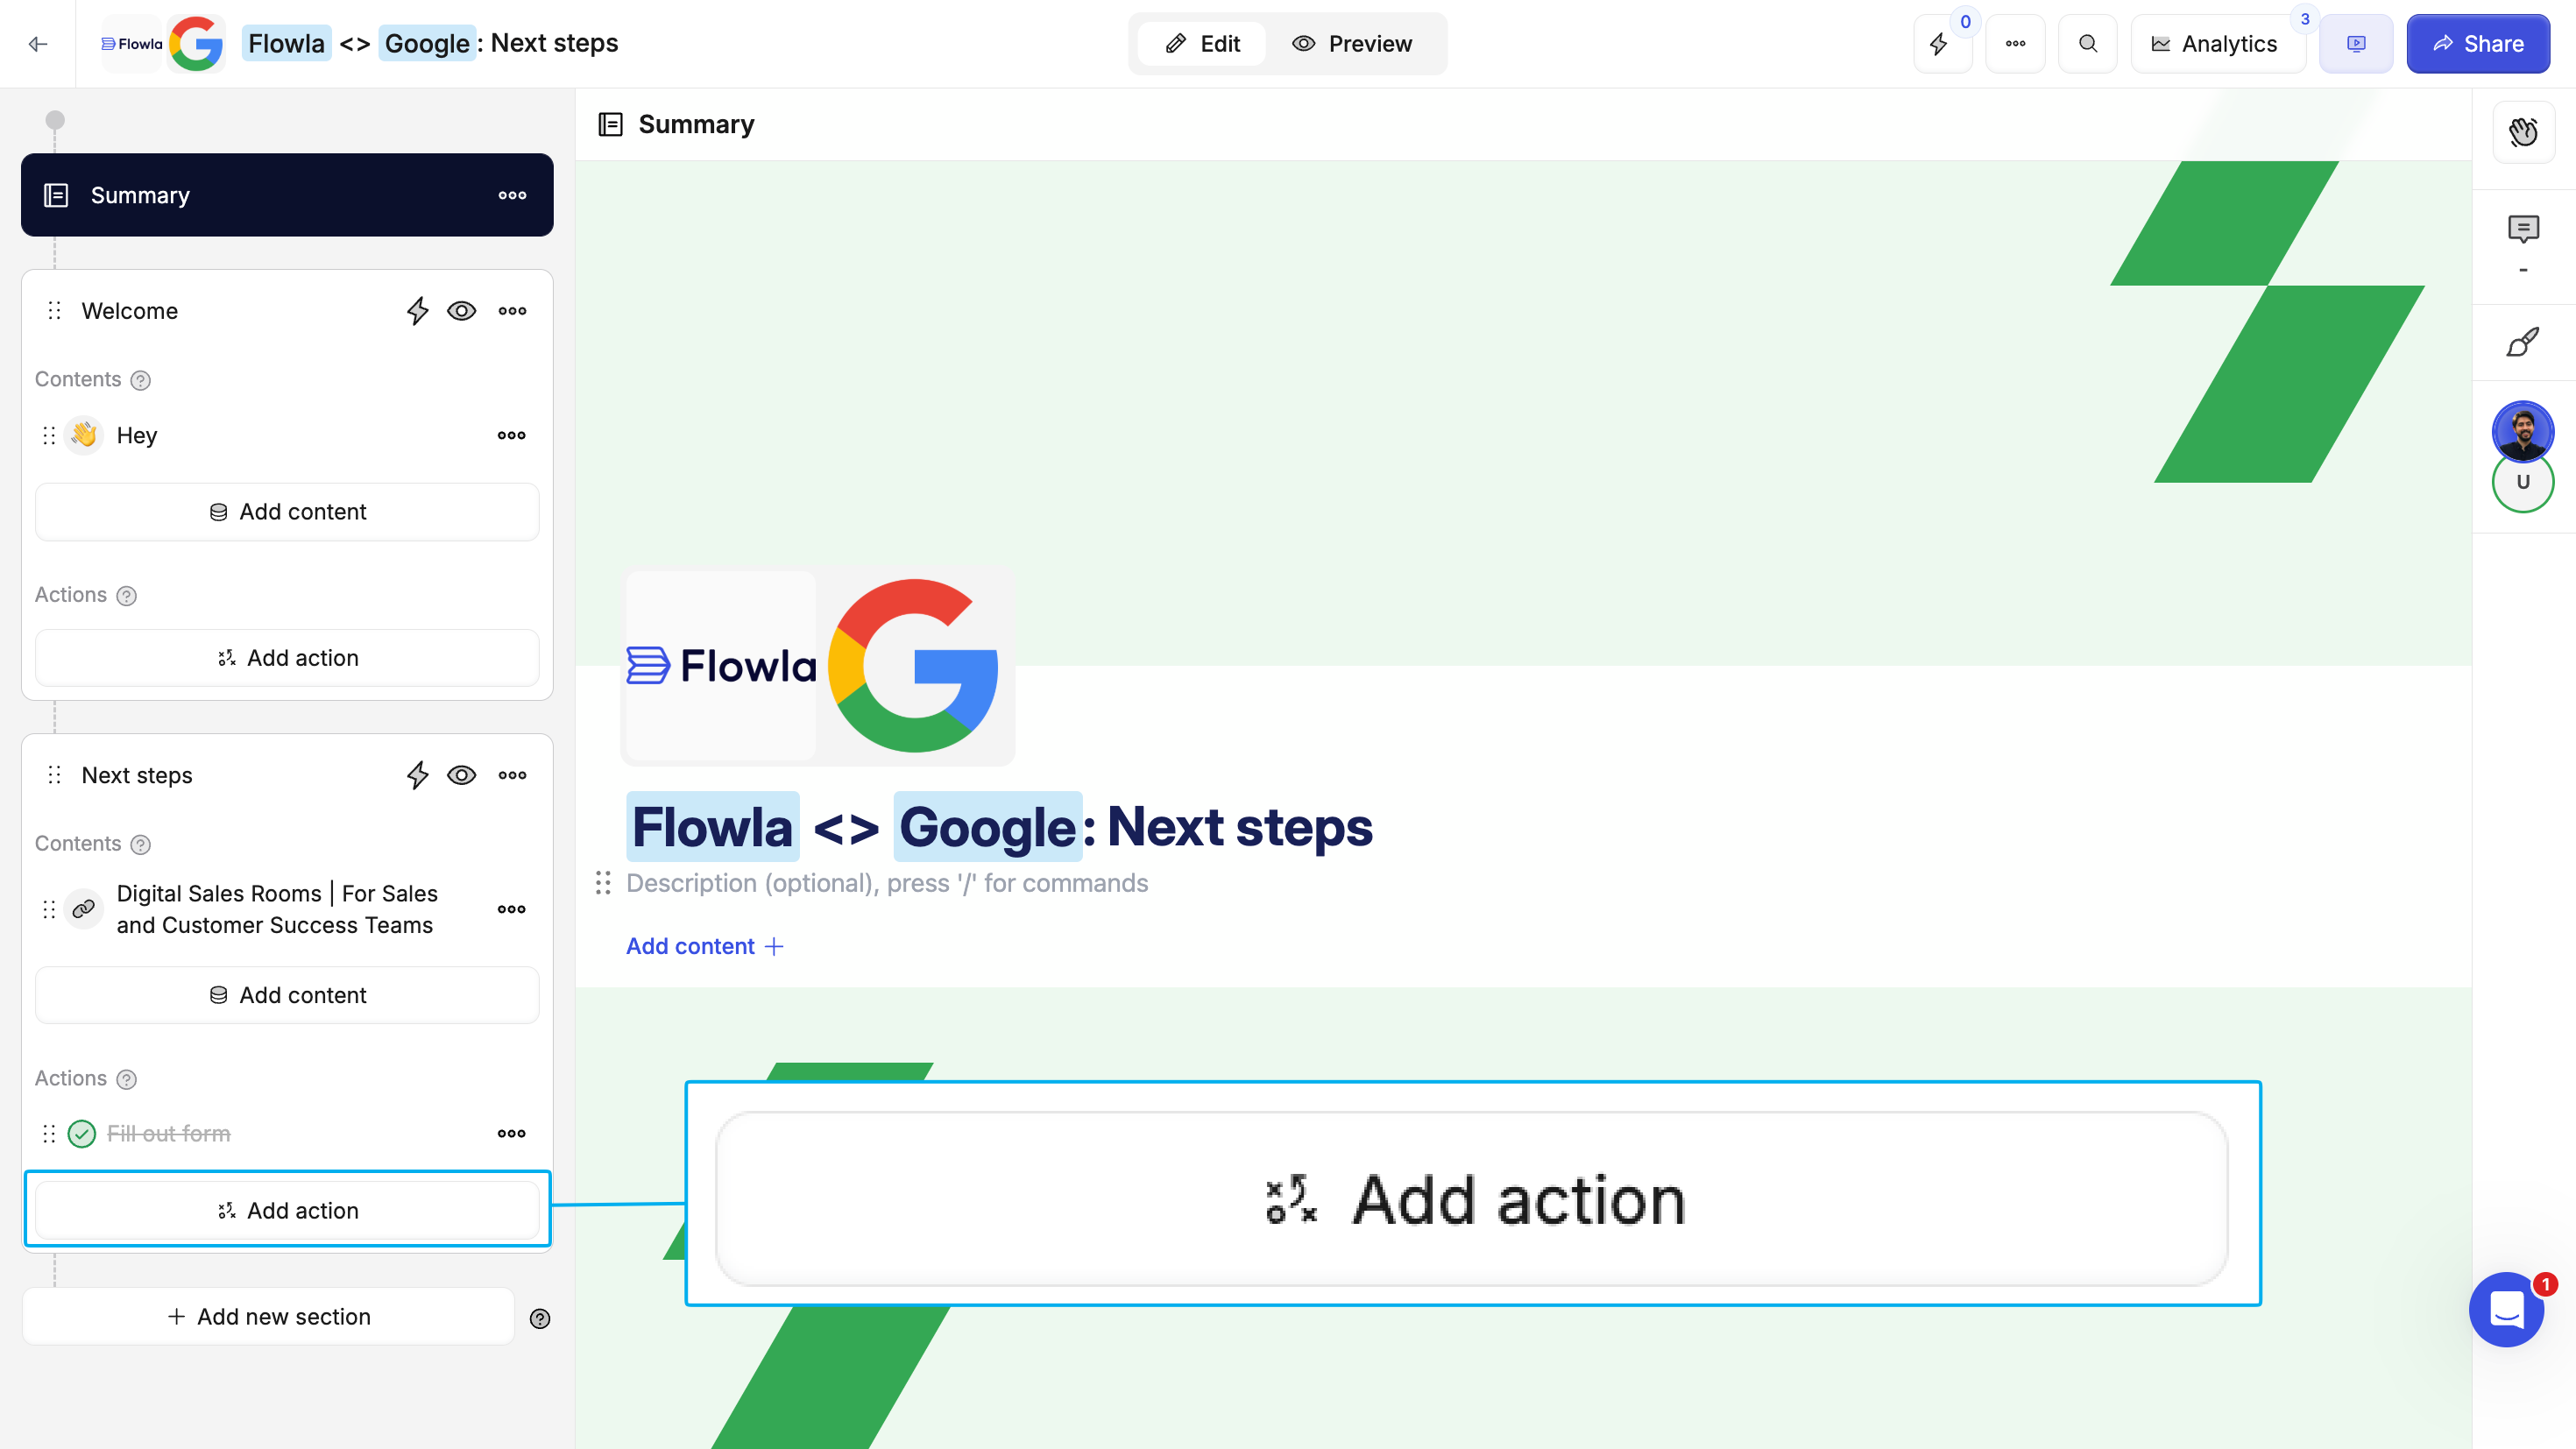
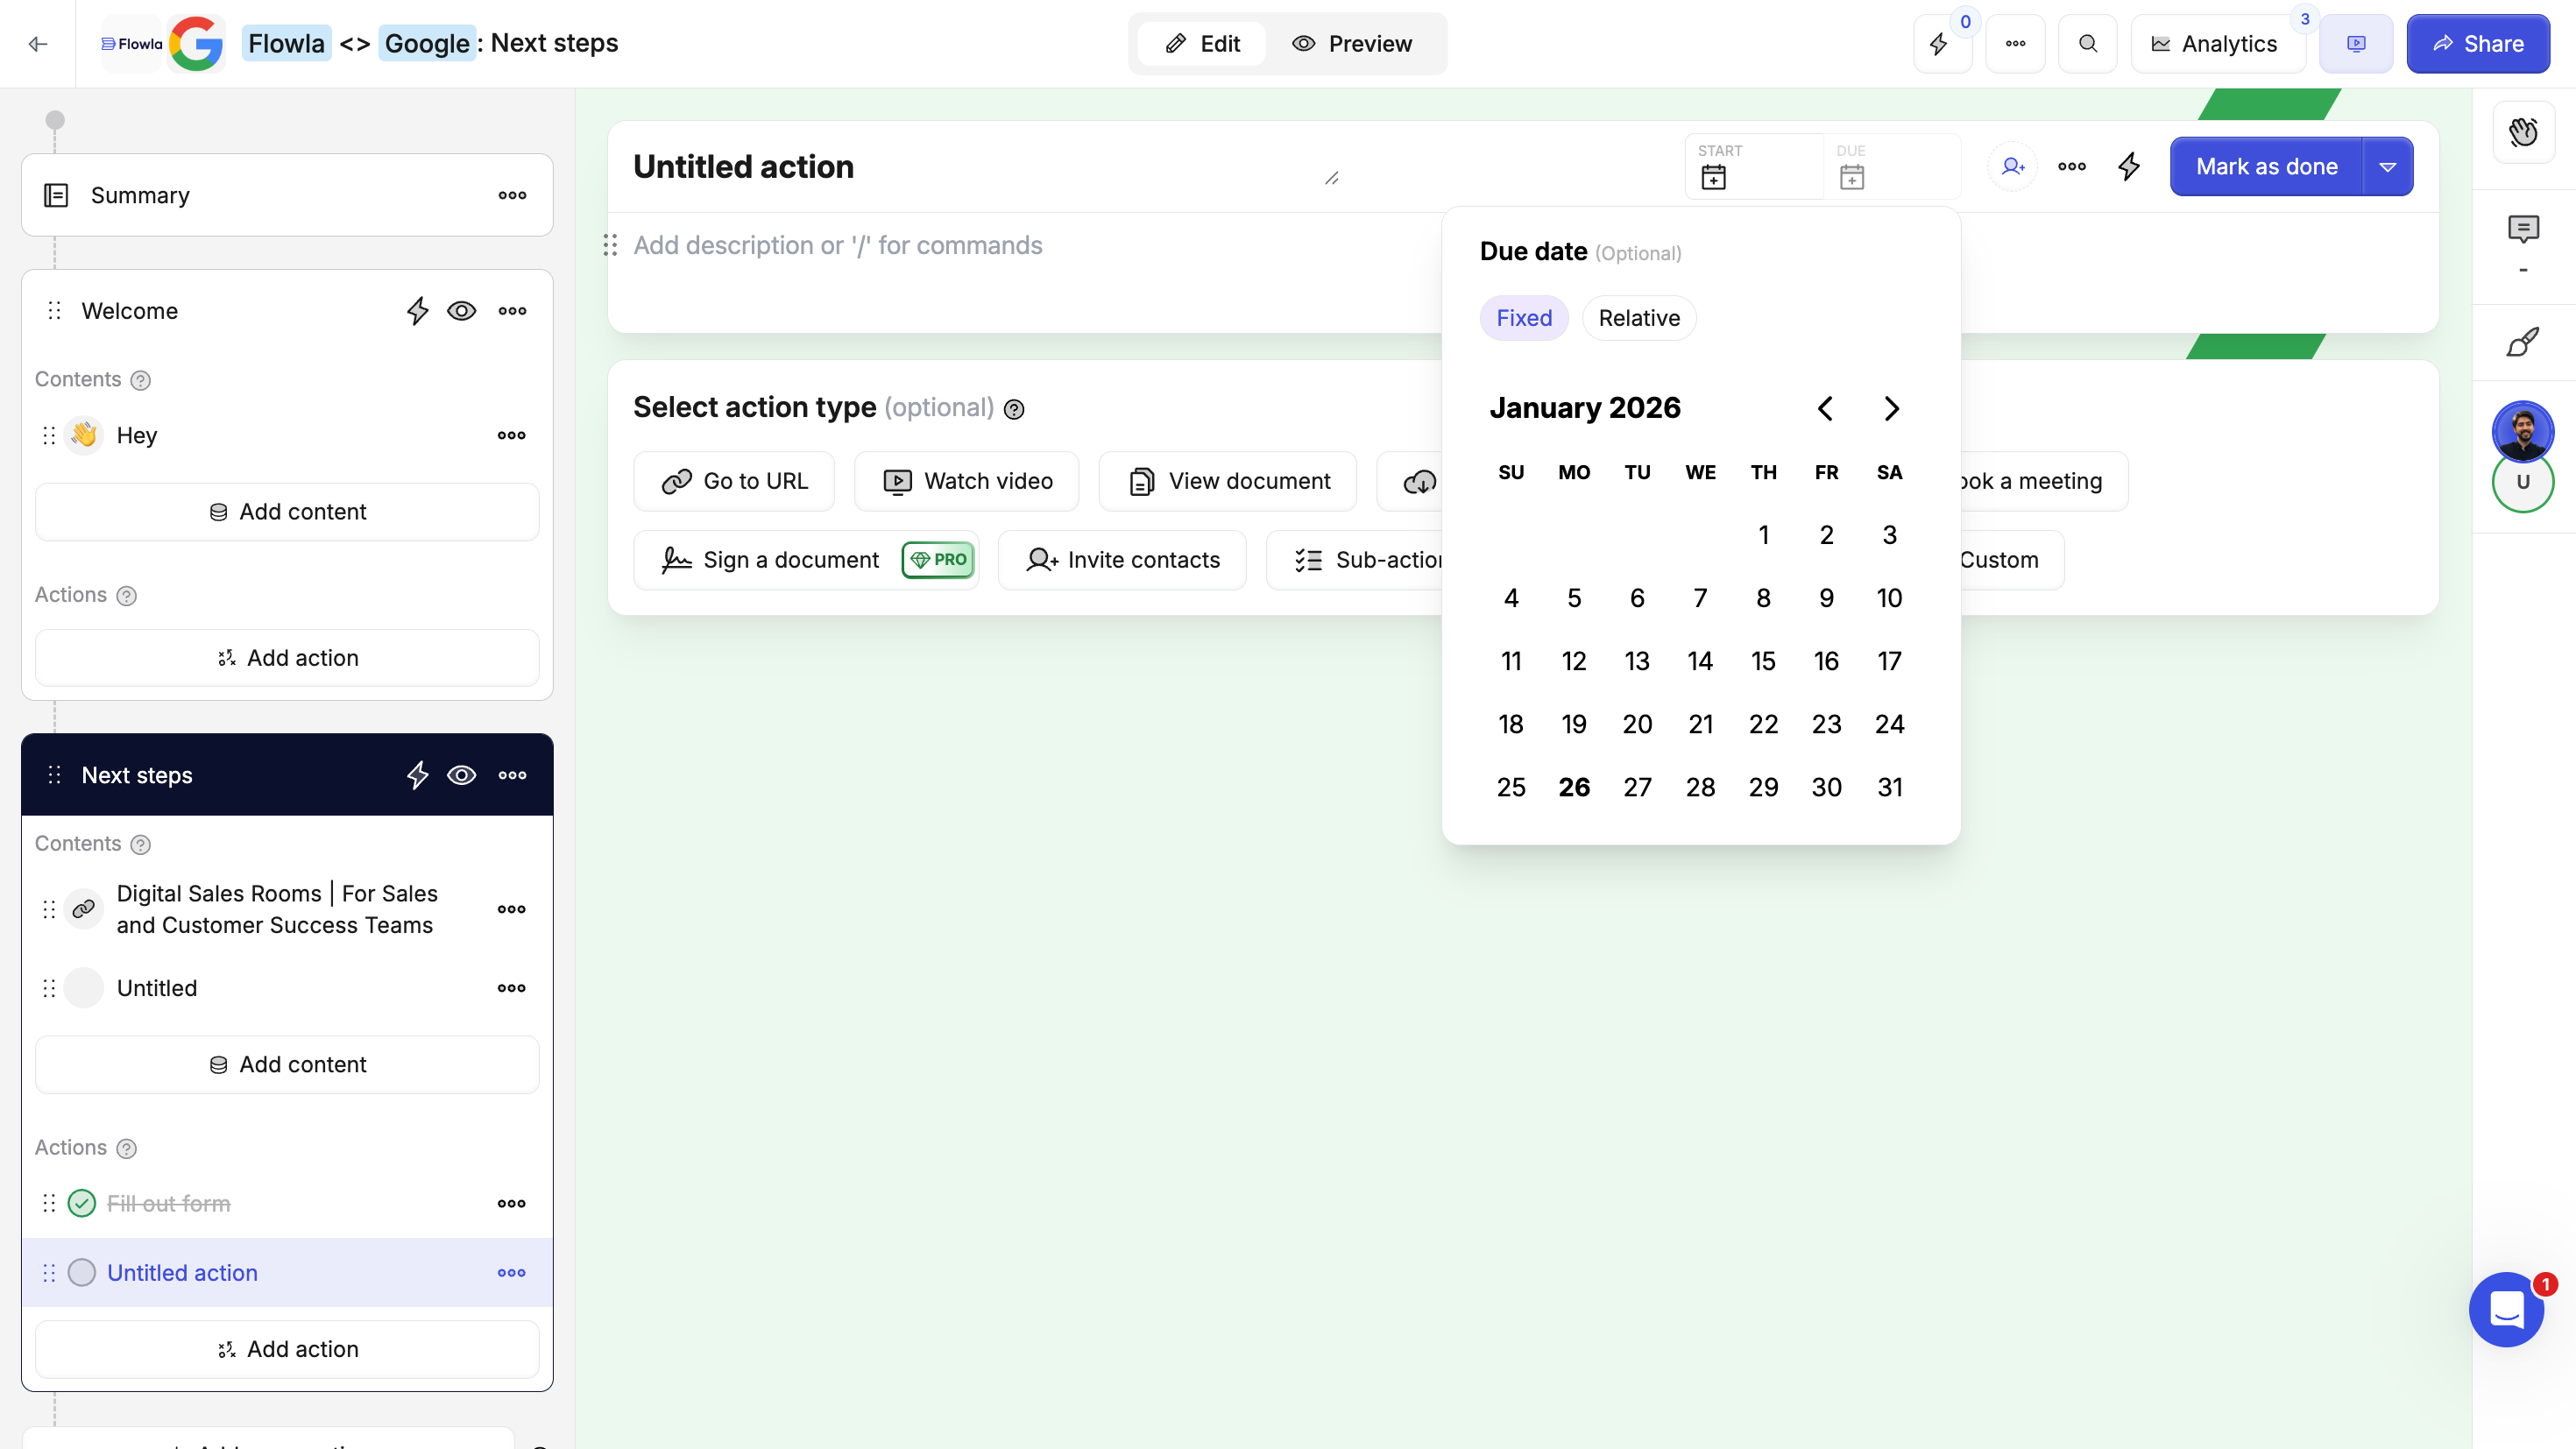
Add actions
Actions are structured, trackable steps that move the process forward. They help you:- Set clear goals and expectations
- Assign action items to team members or customers
- Keep both sides aligned on next steps
- Collect information
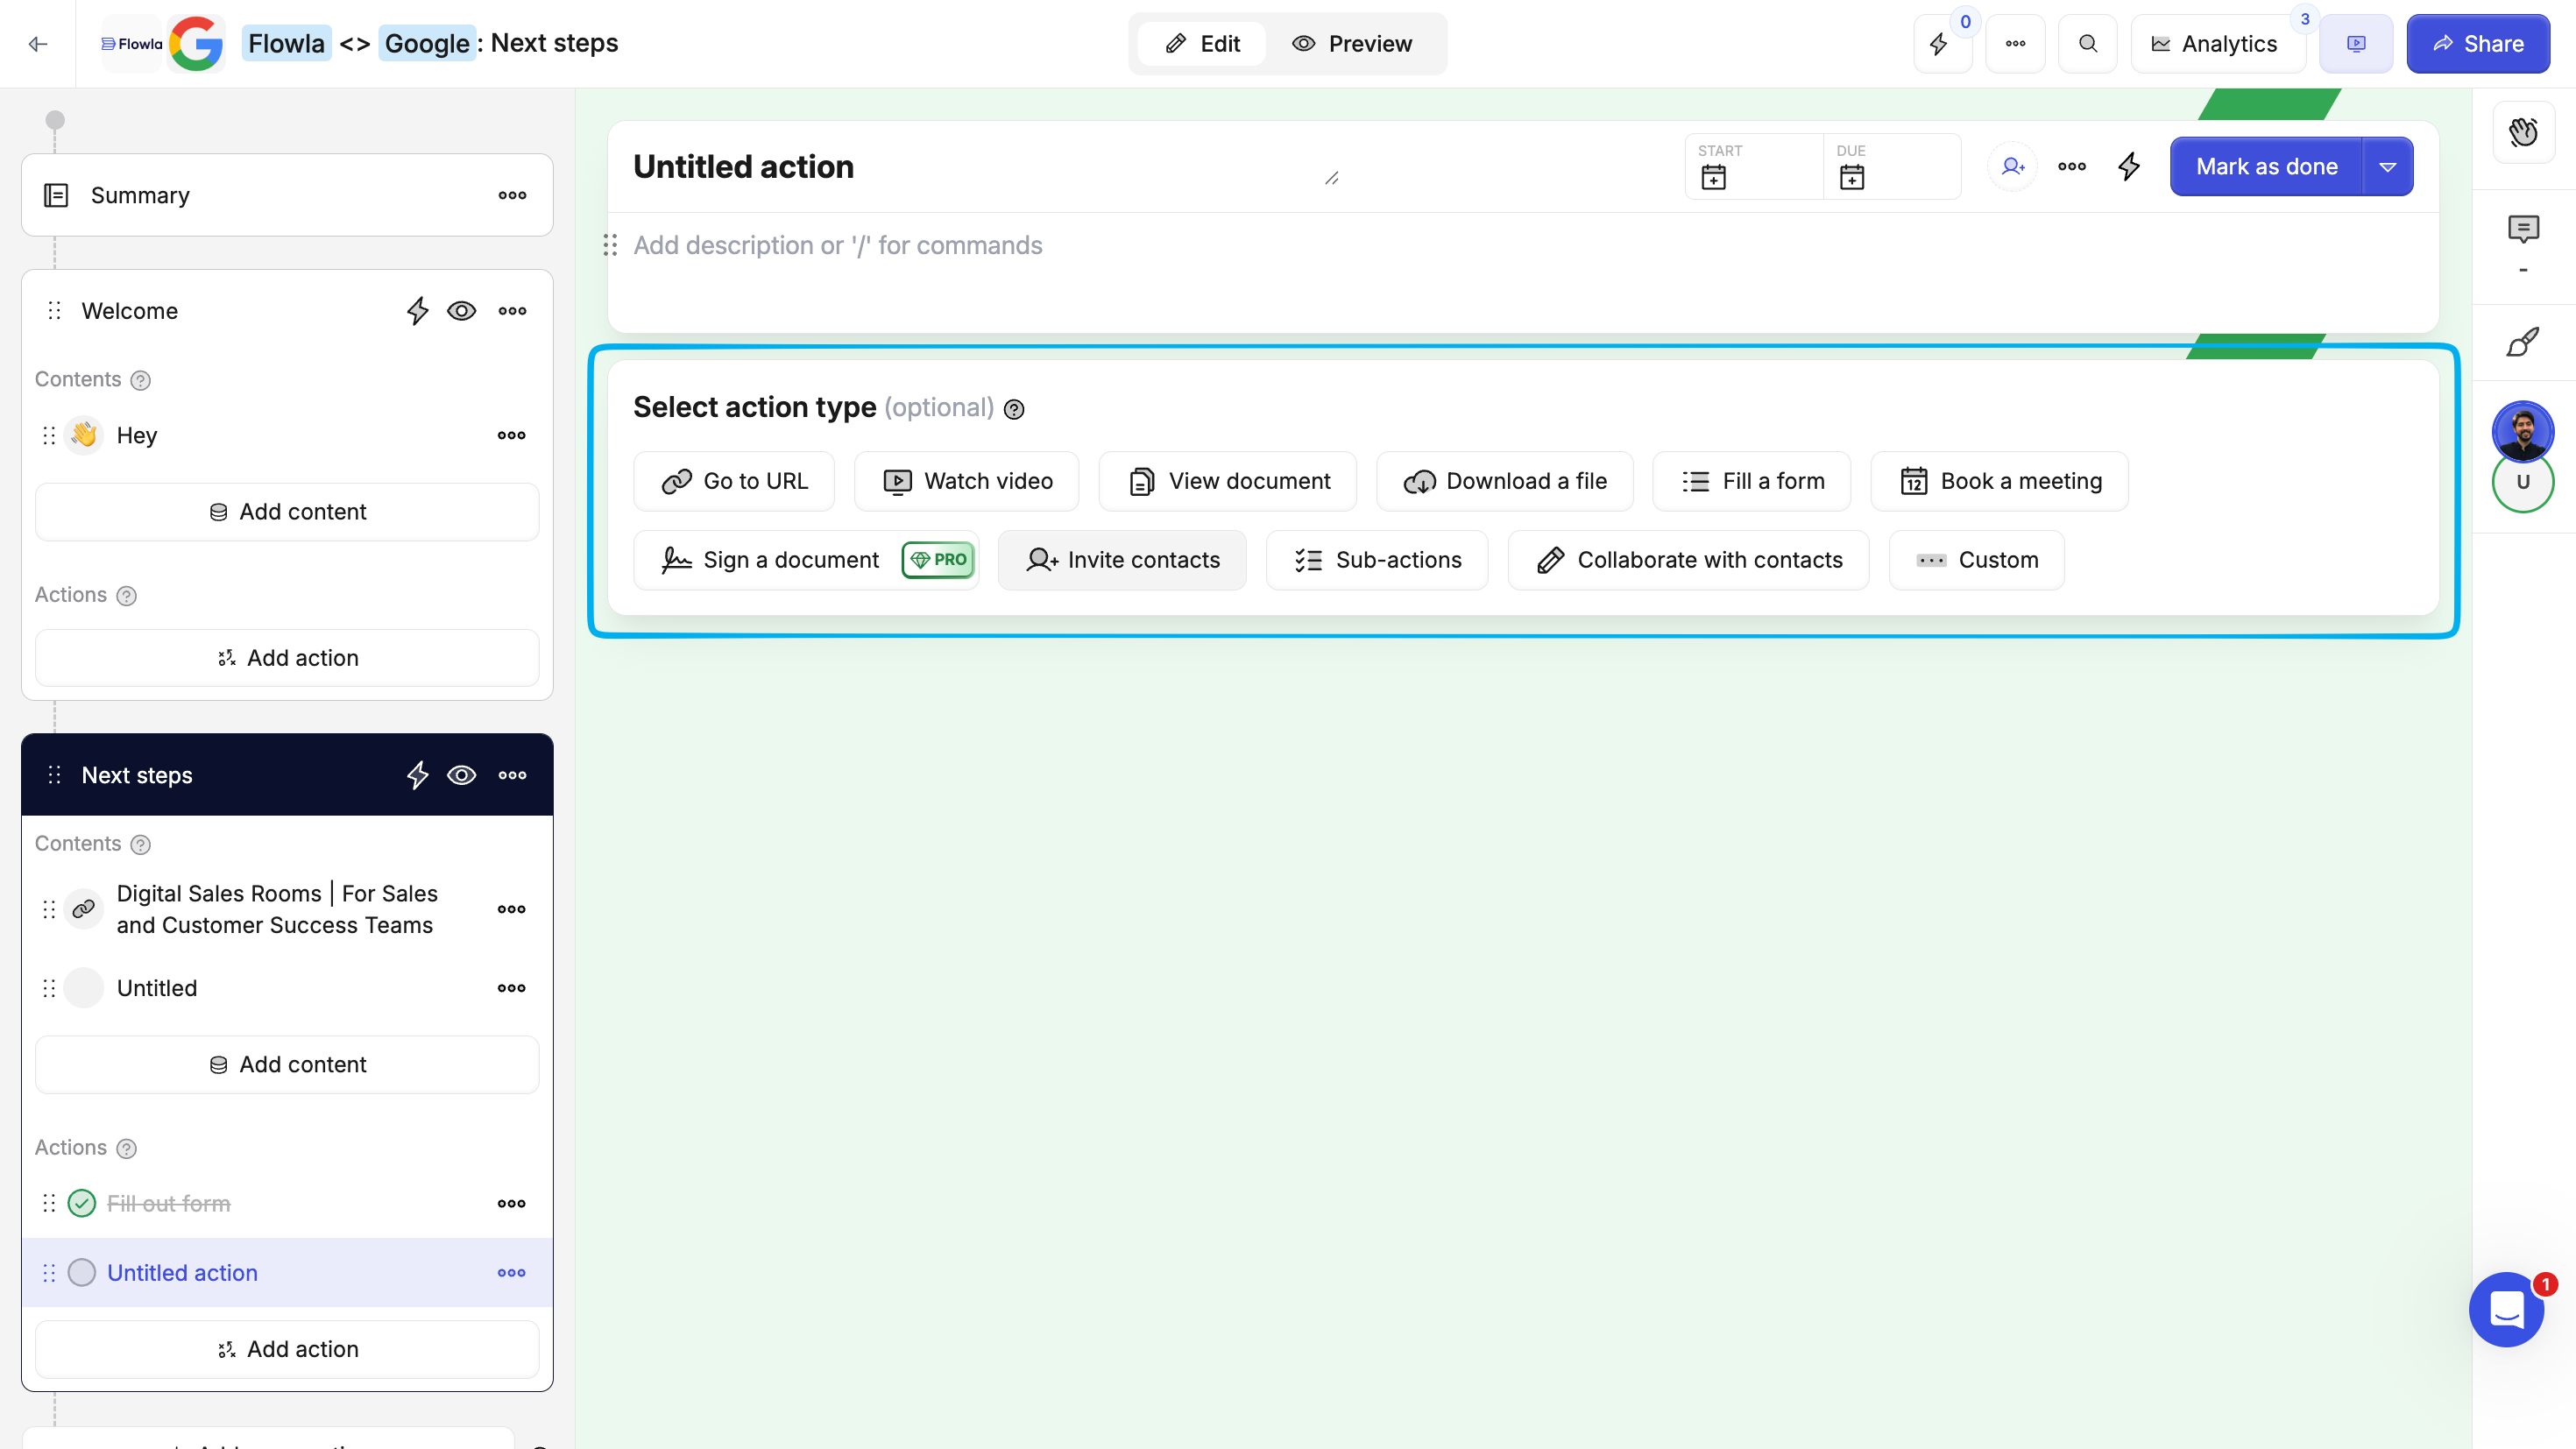
Assign people or companies
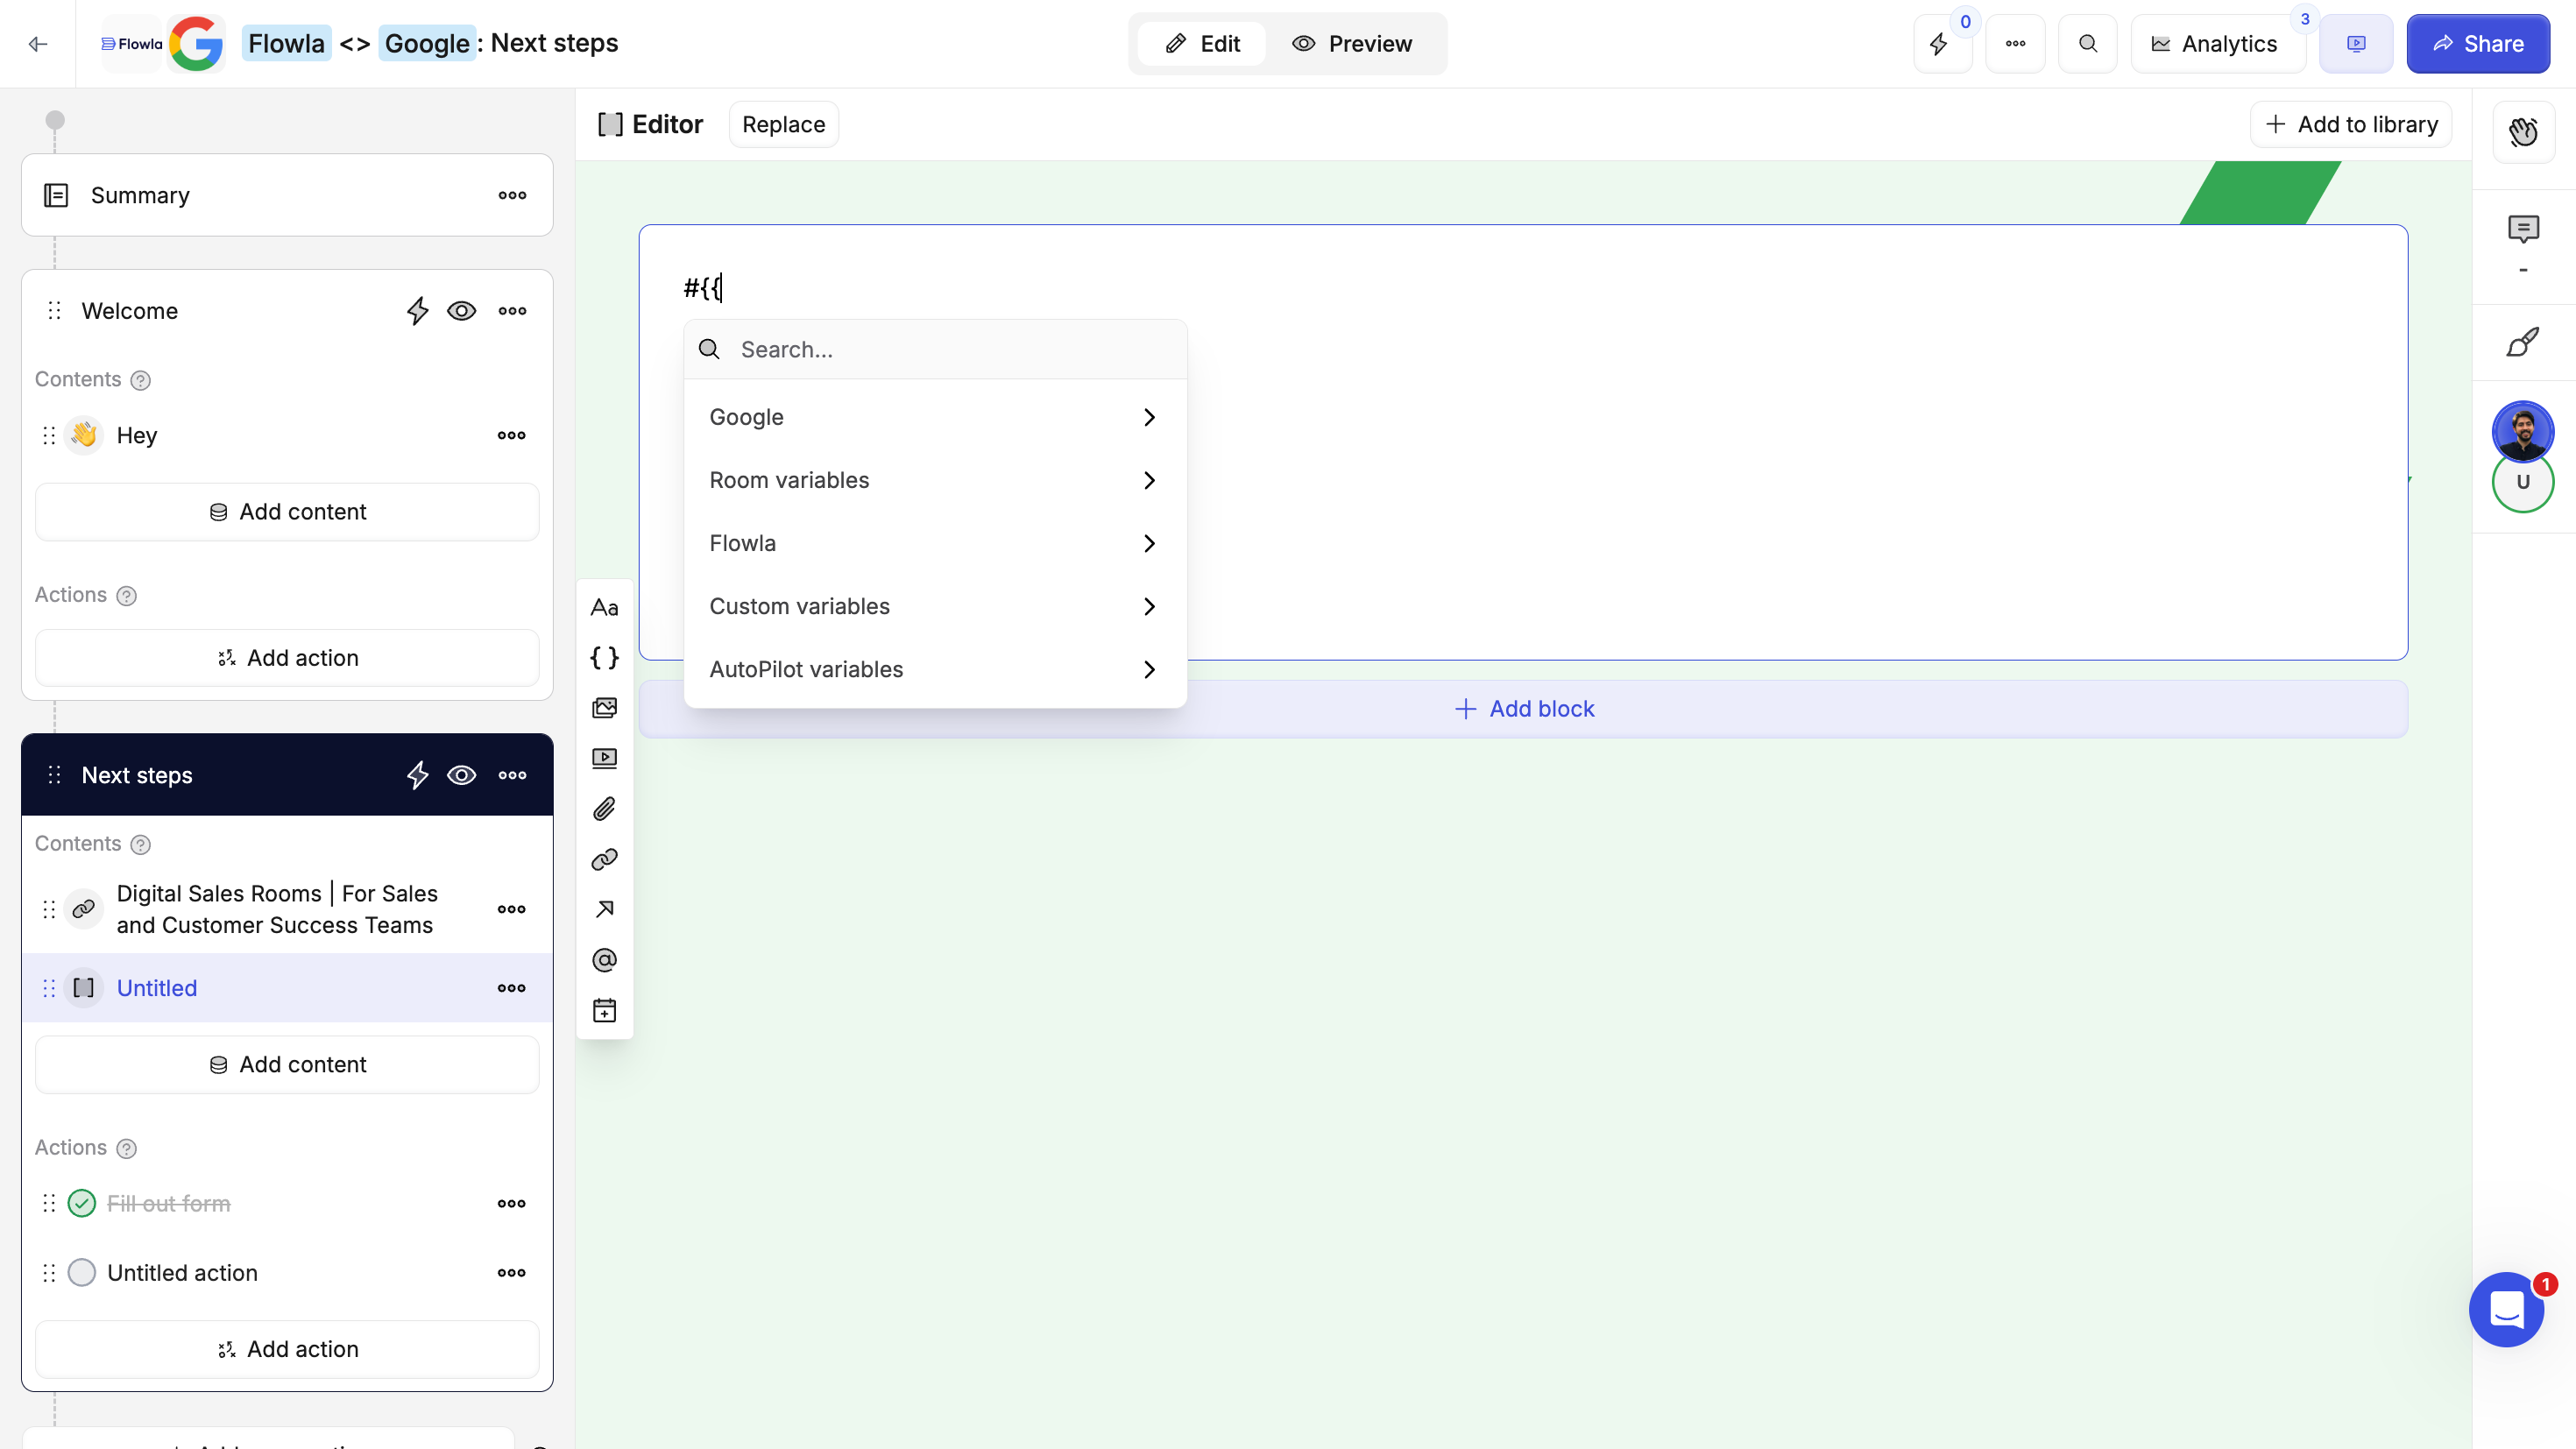
Add files, videos, links, embedded calendars, forms, or rich text blocks.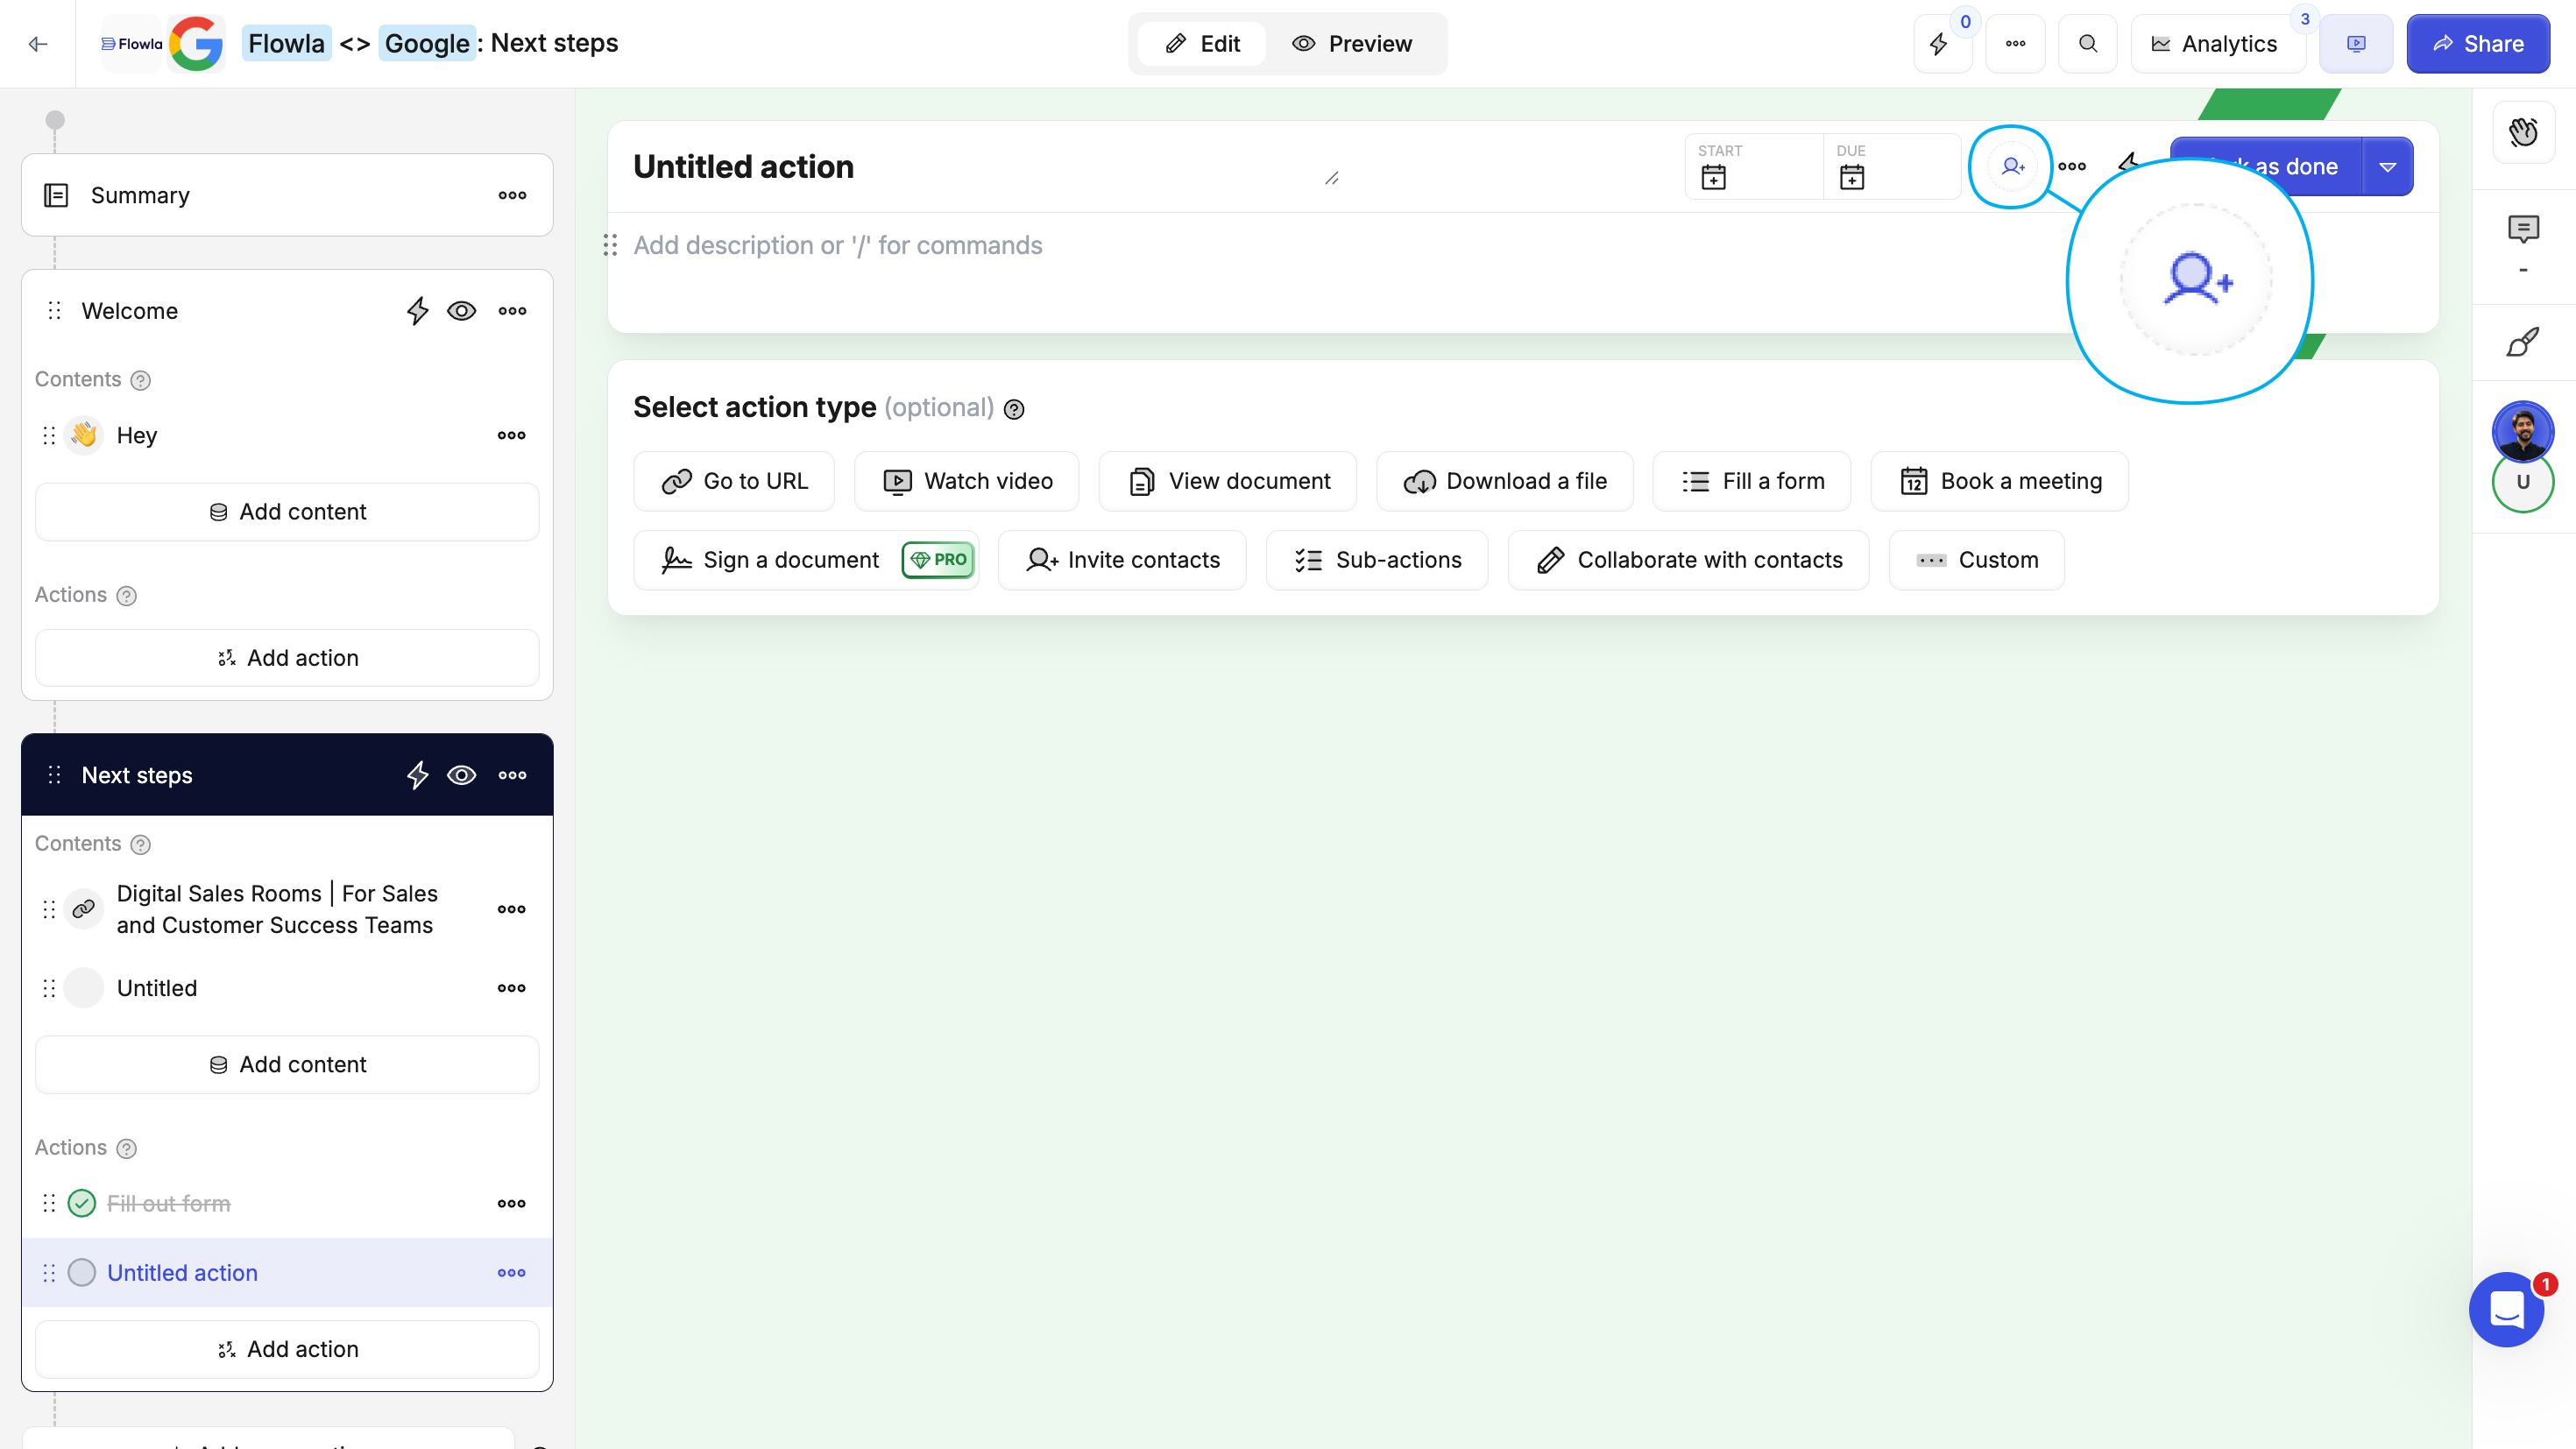
Step 3: Create a room from your template
Now that your template is ready, create a room for a specific company or deal.Click 'Create new room' in your dashboard
From the main dashboard, click the Create new room button.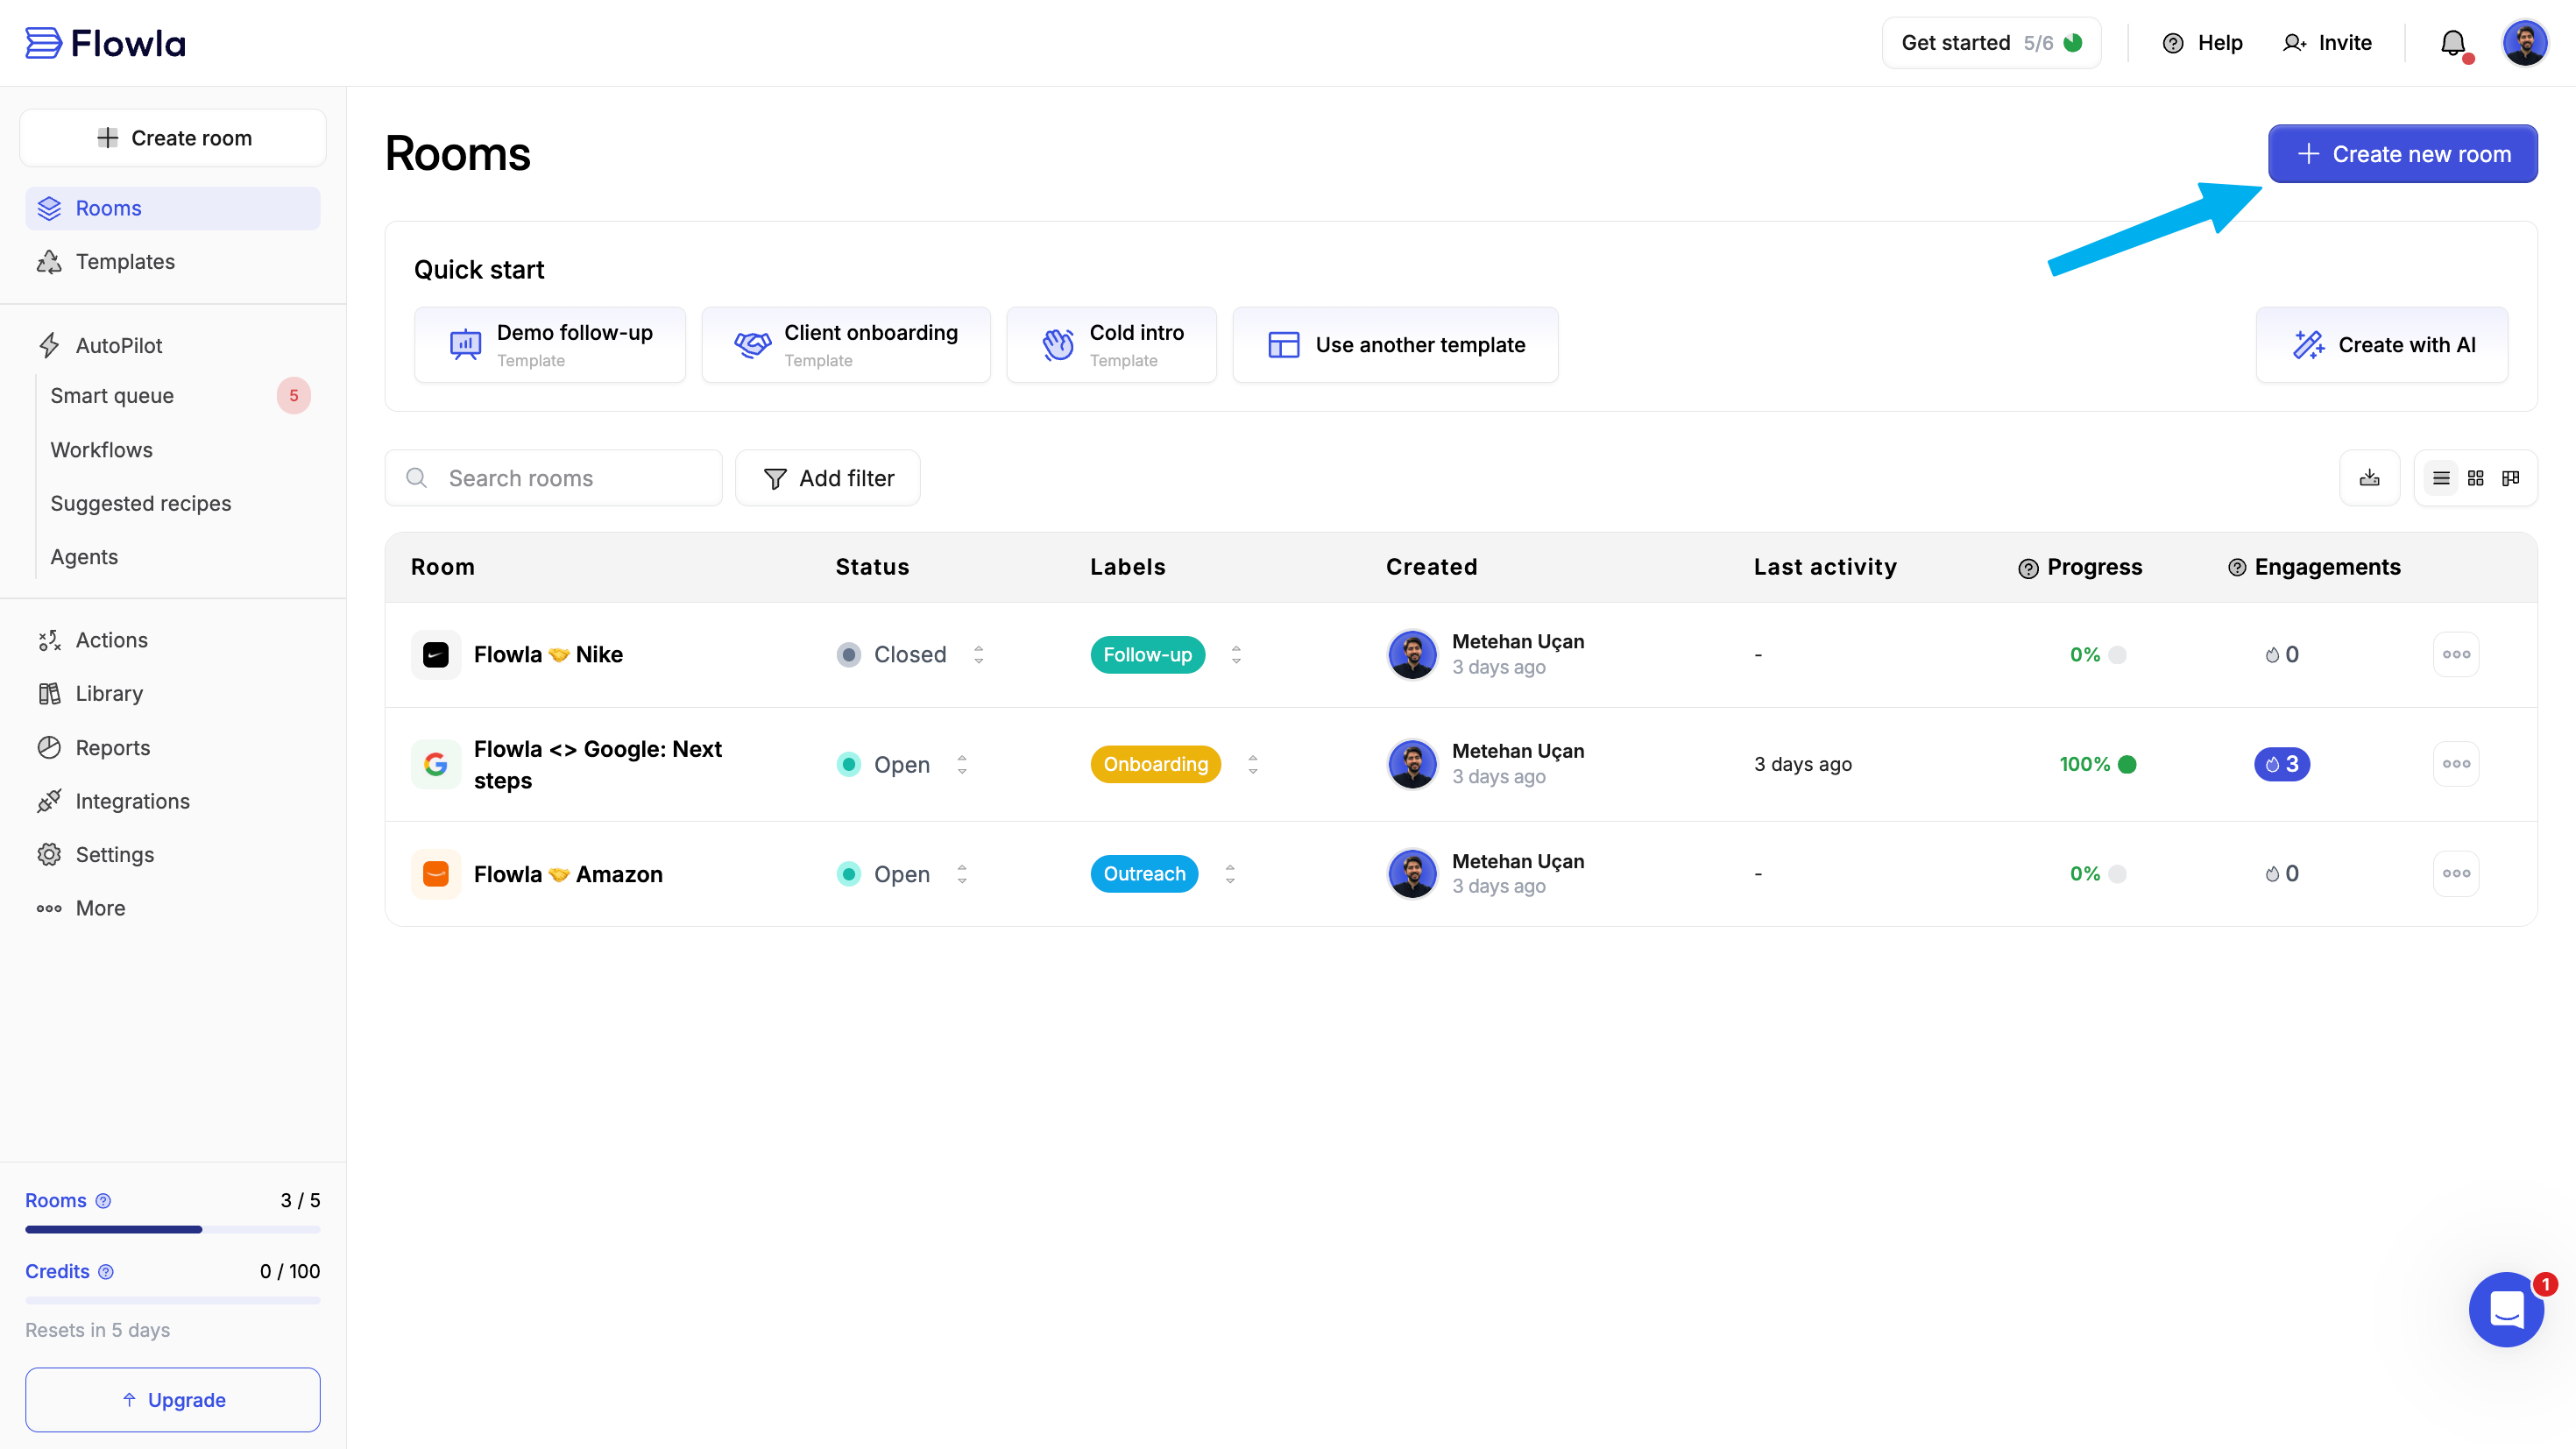
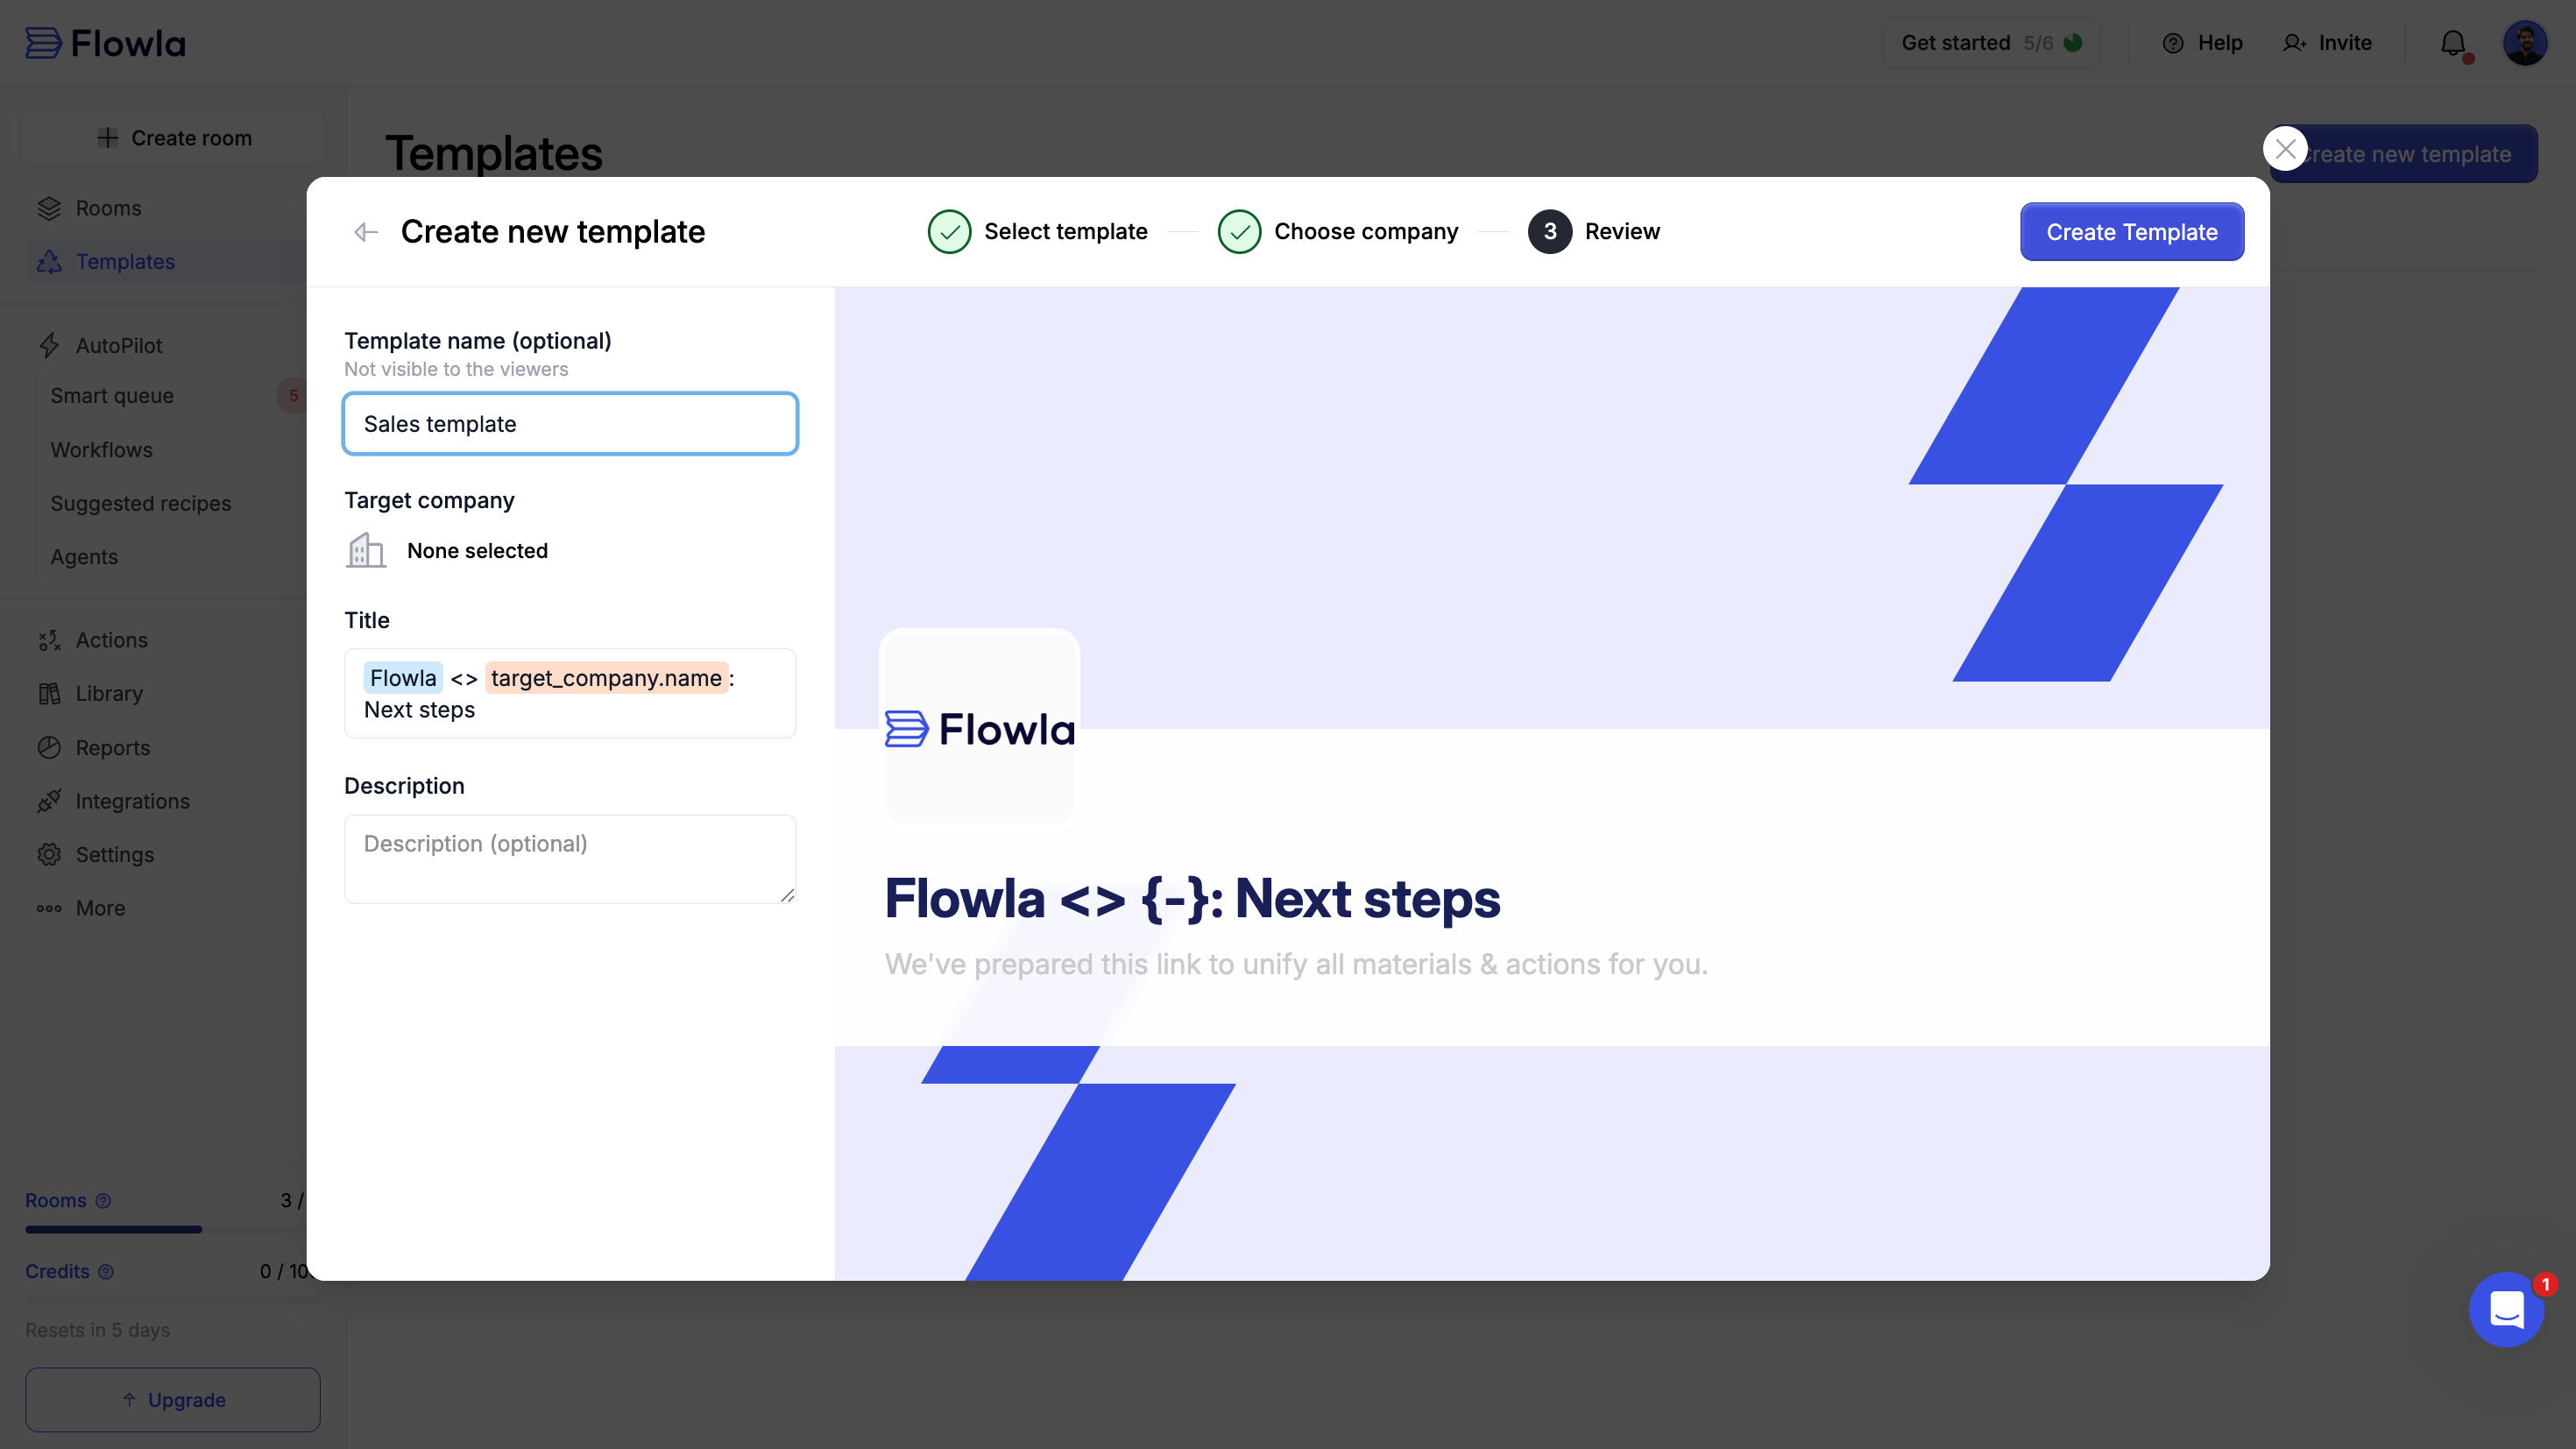
Step 4: Choose a company
The target company tailors the room automatically: personalizing branding and content while keeping stakeholder and engagement data organized. Option A: Create or select a company in Flowla Search by domain or name to quickly create and link a target company.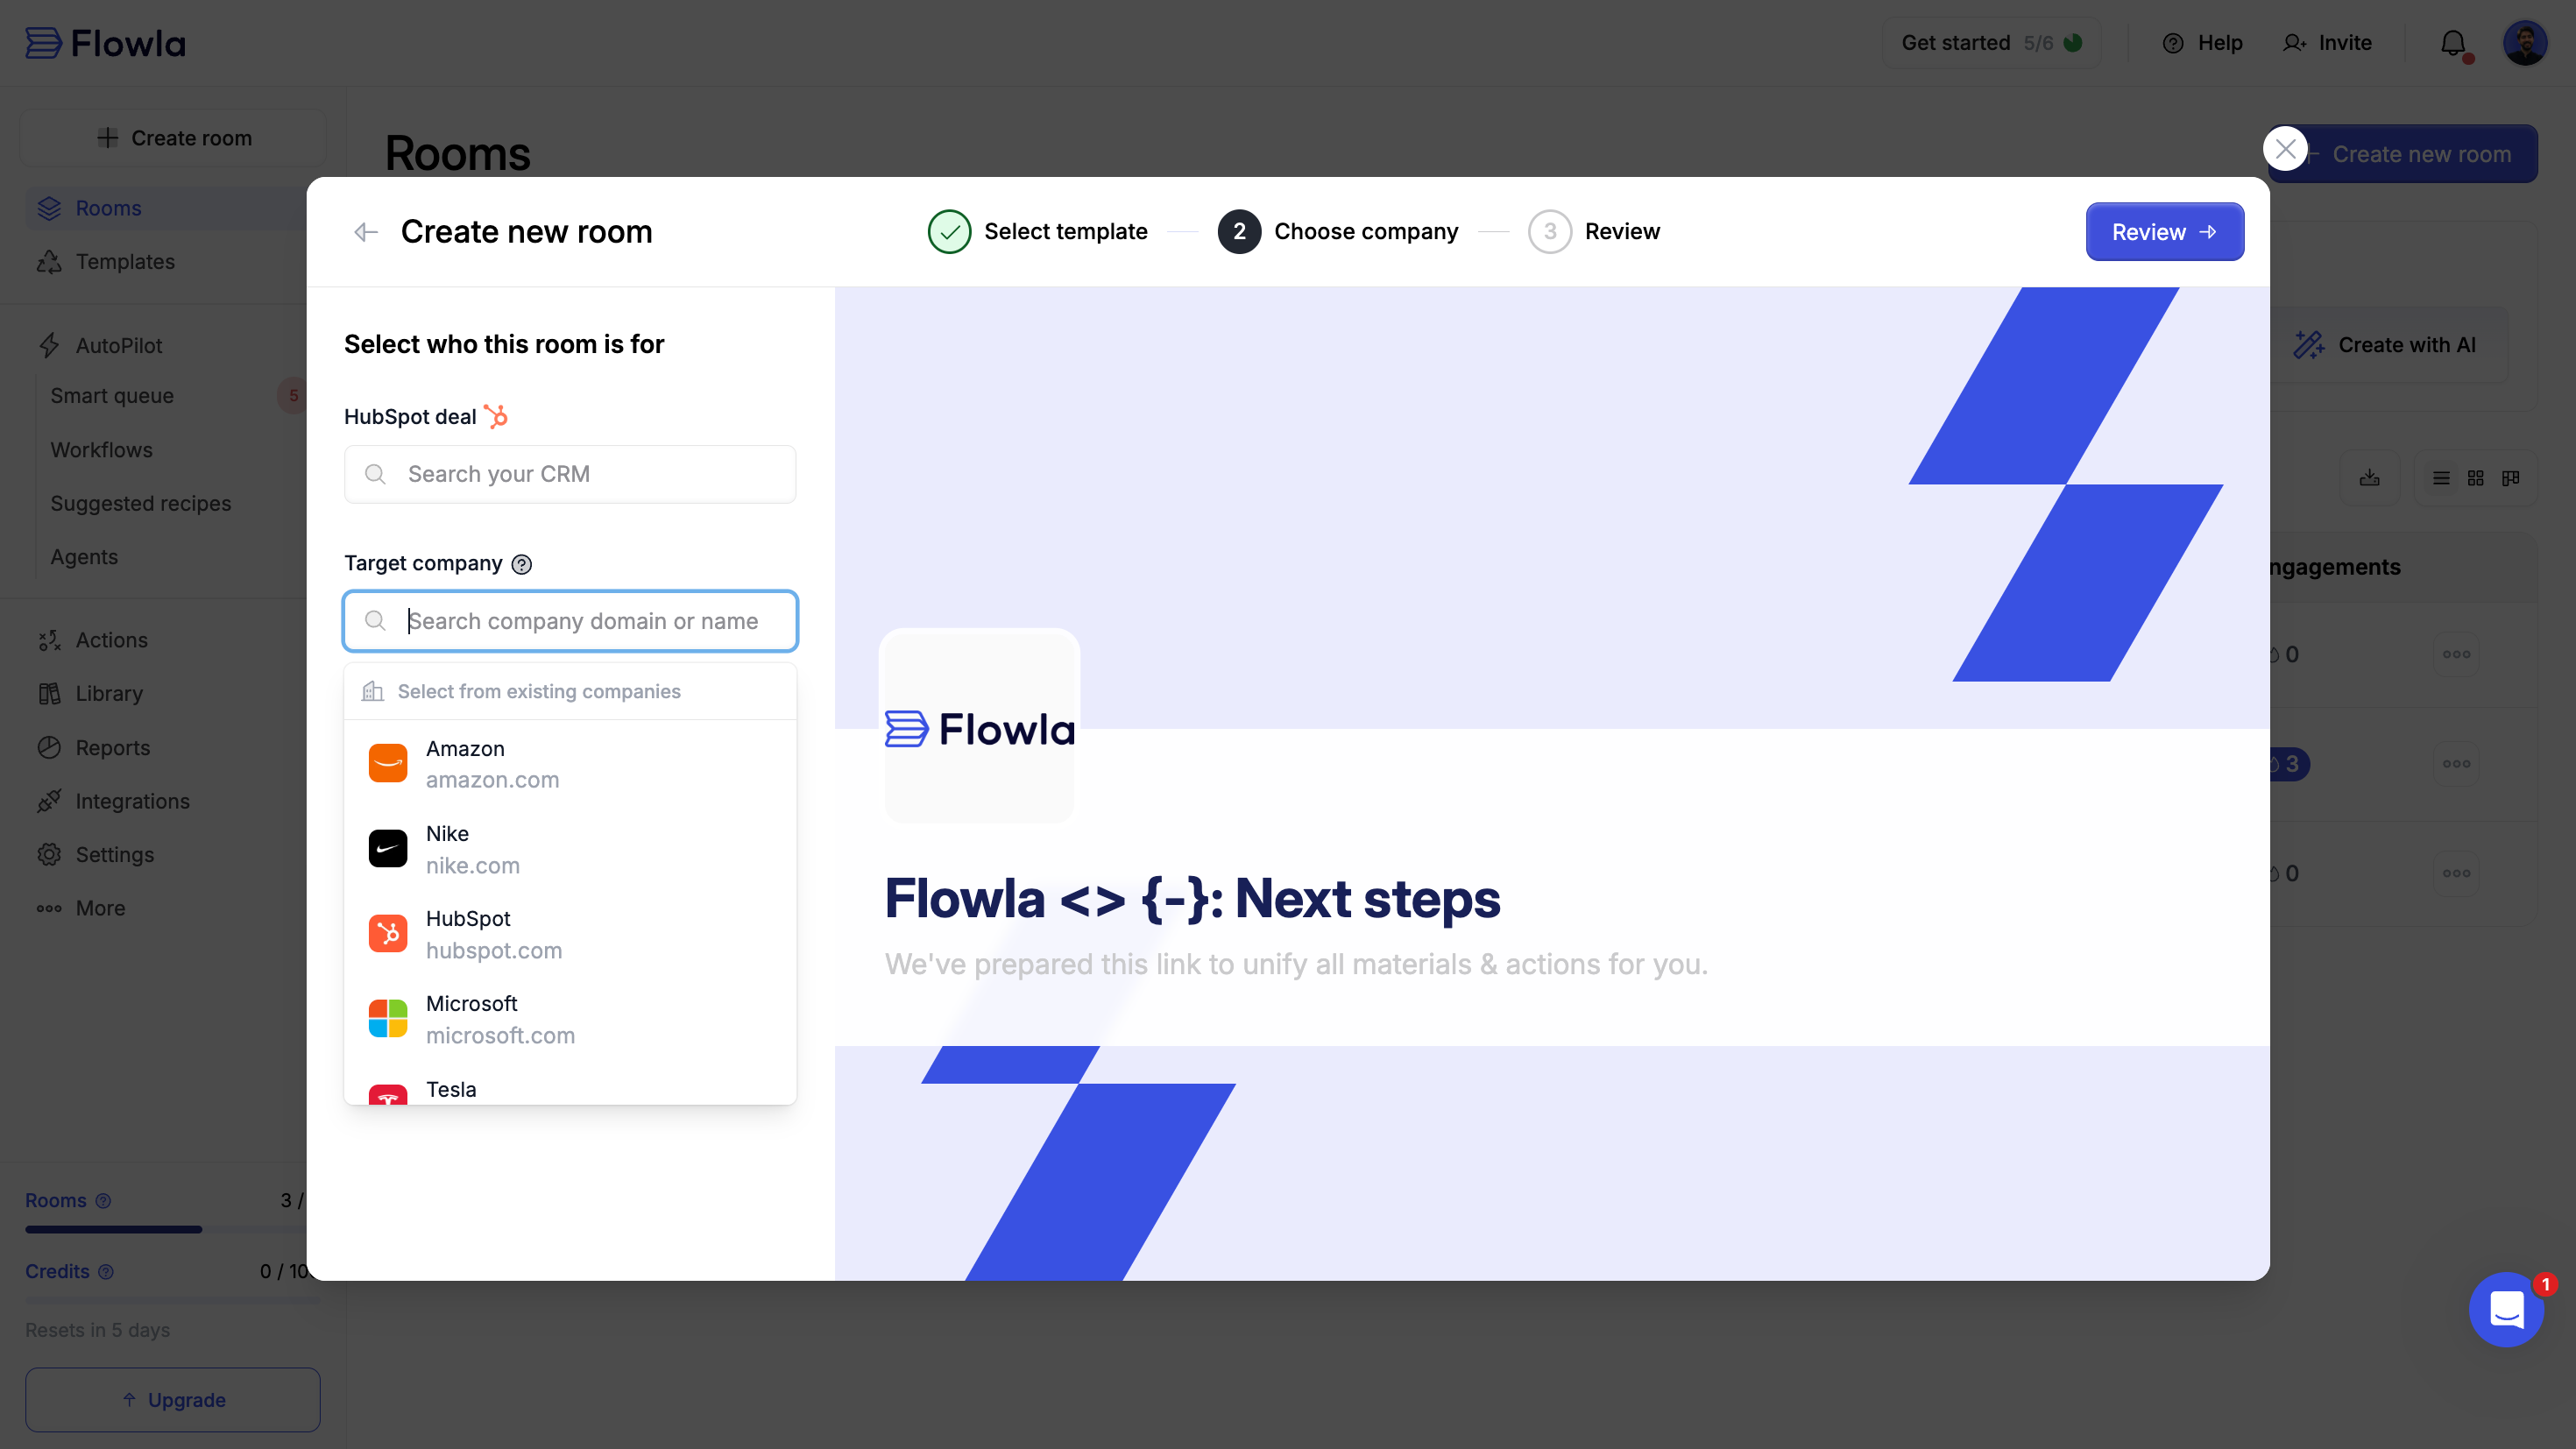
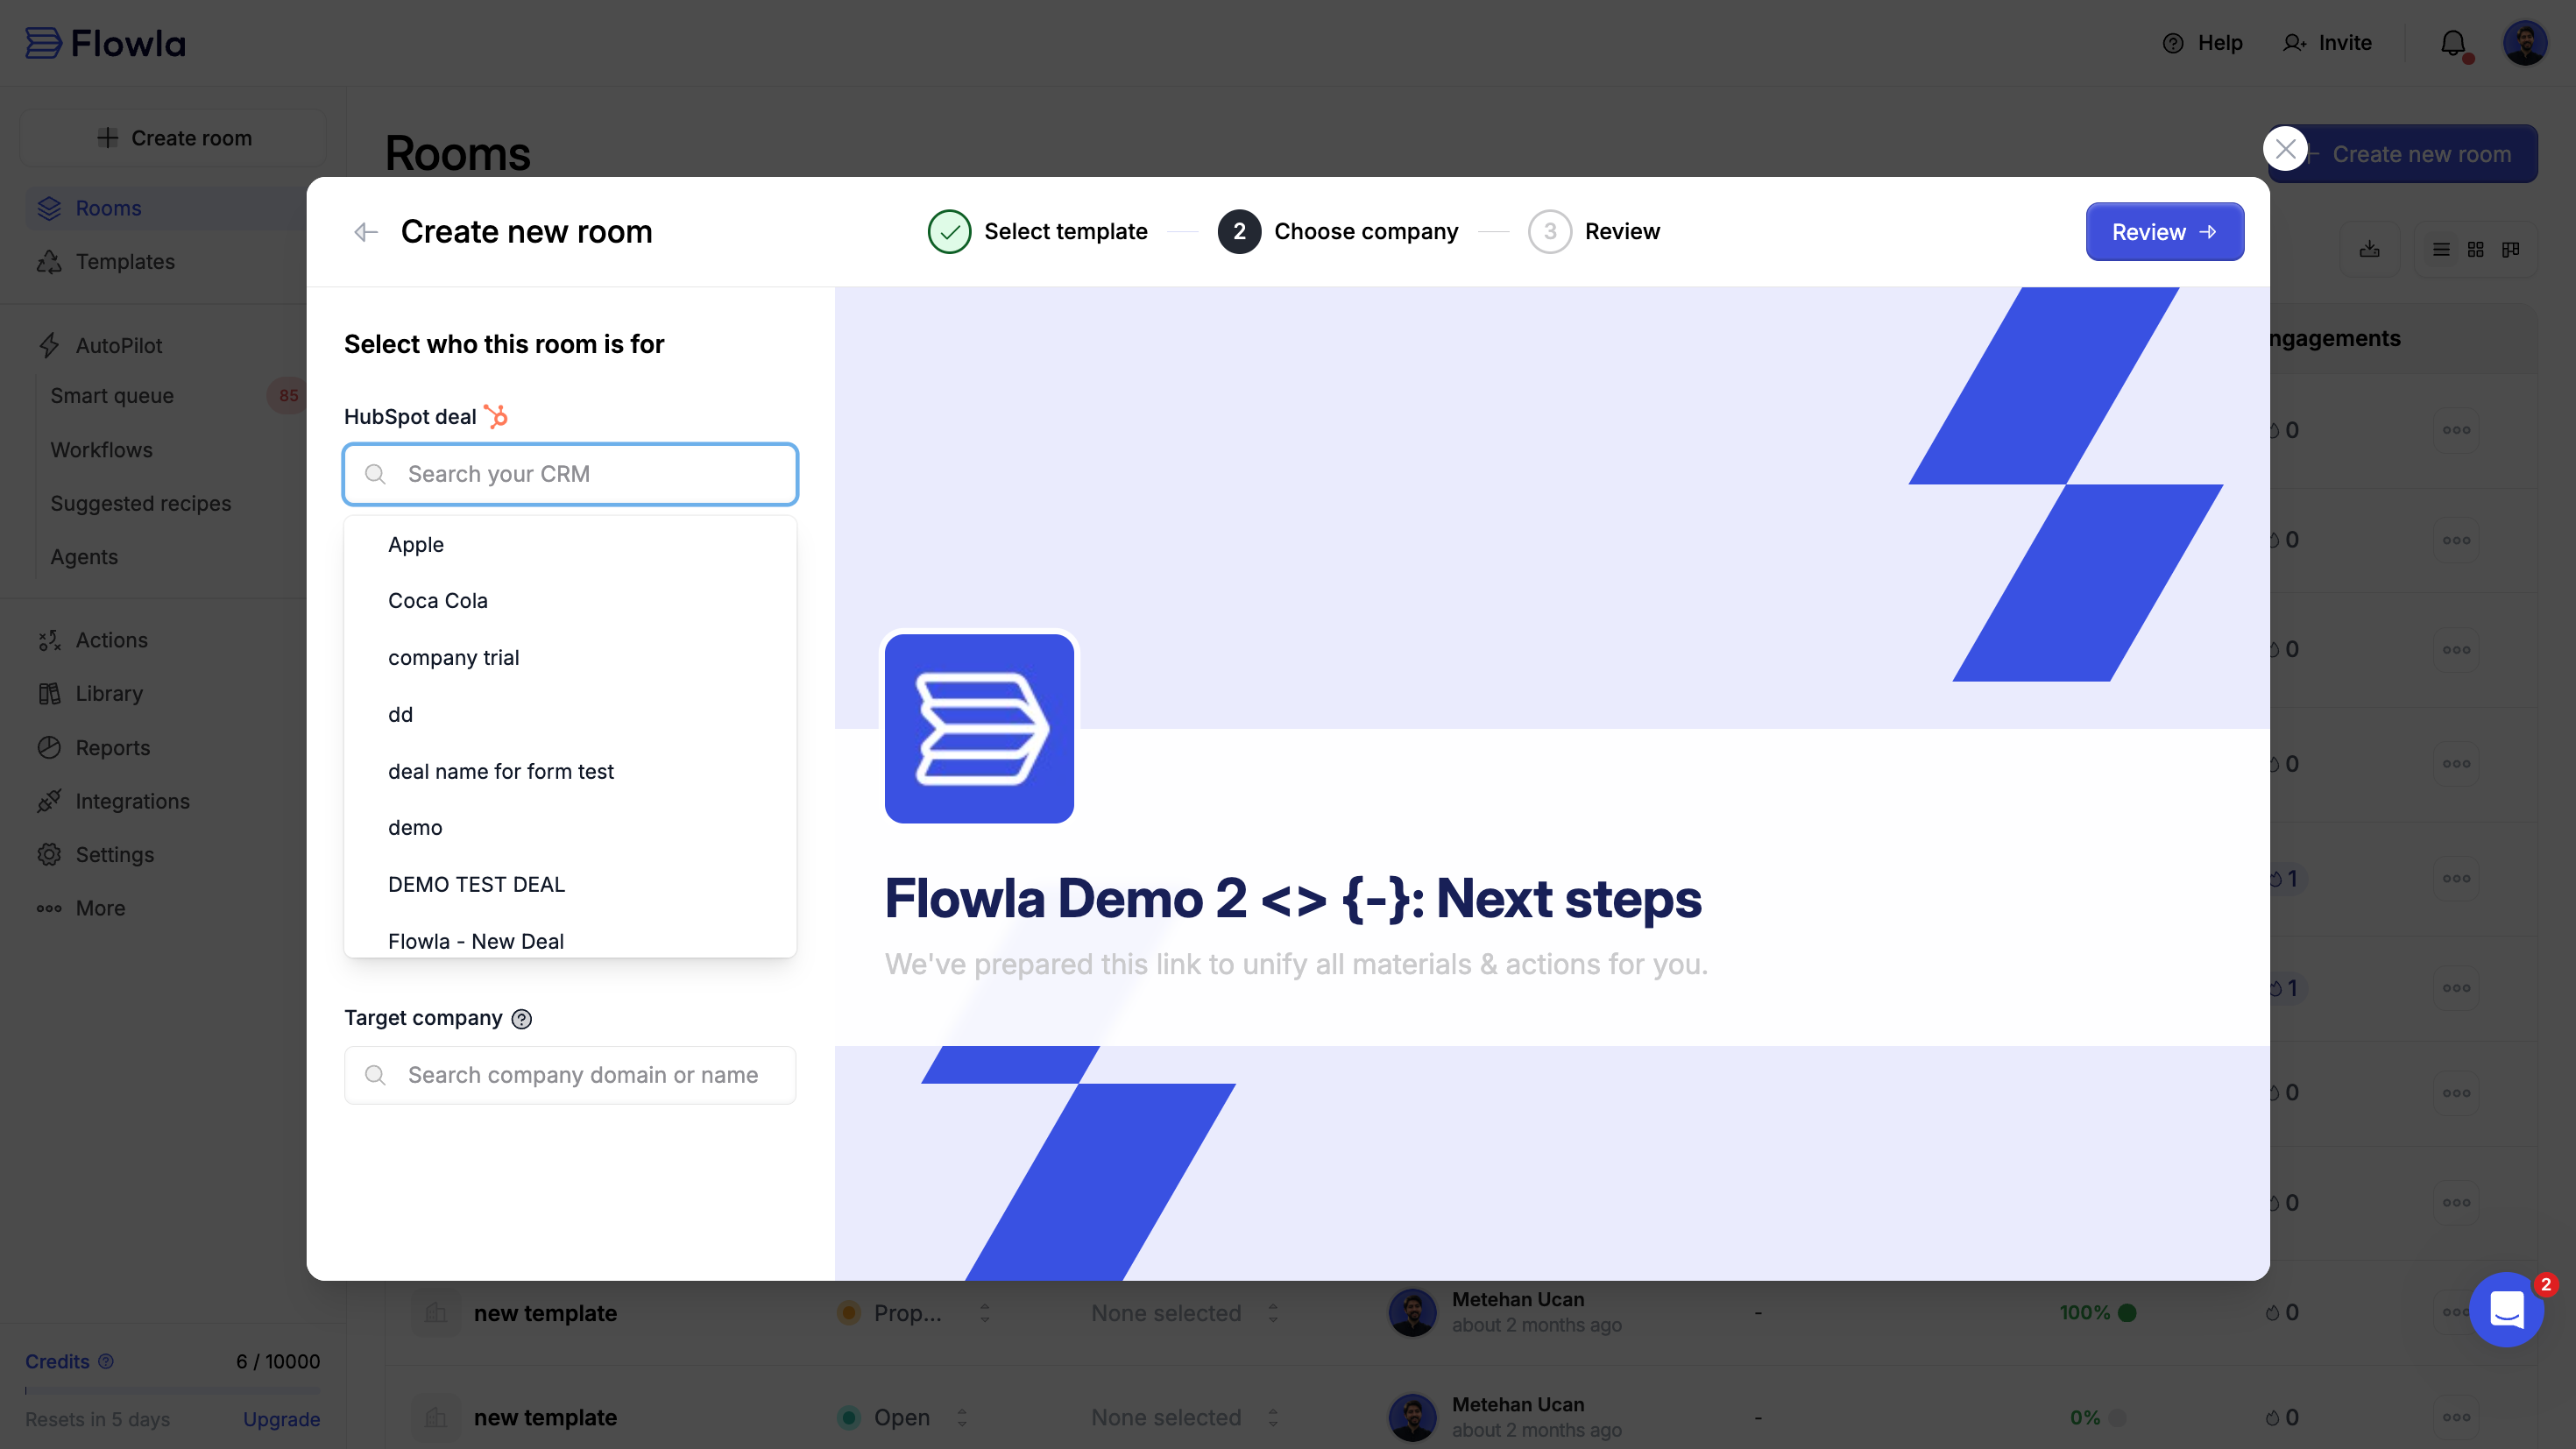
- Flowla automatically pulls the deal’s company information and enriches branding and logo
- Deal information will be synced to your room
- Room information and engagements will be synced to your CRM
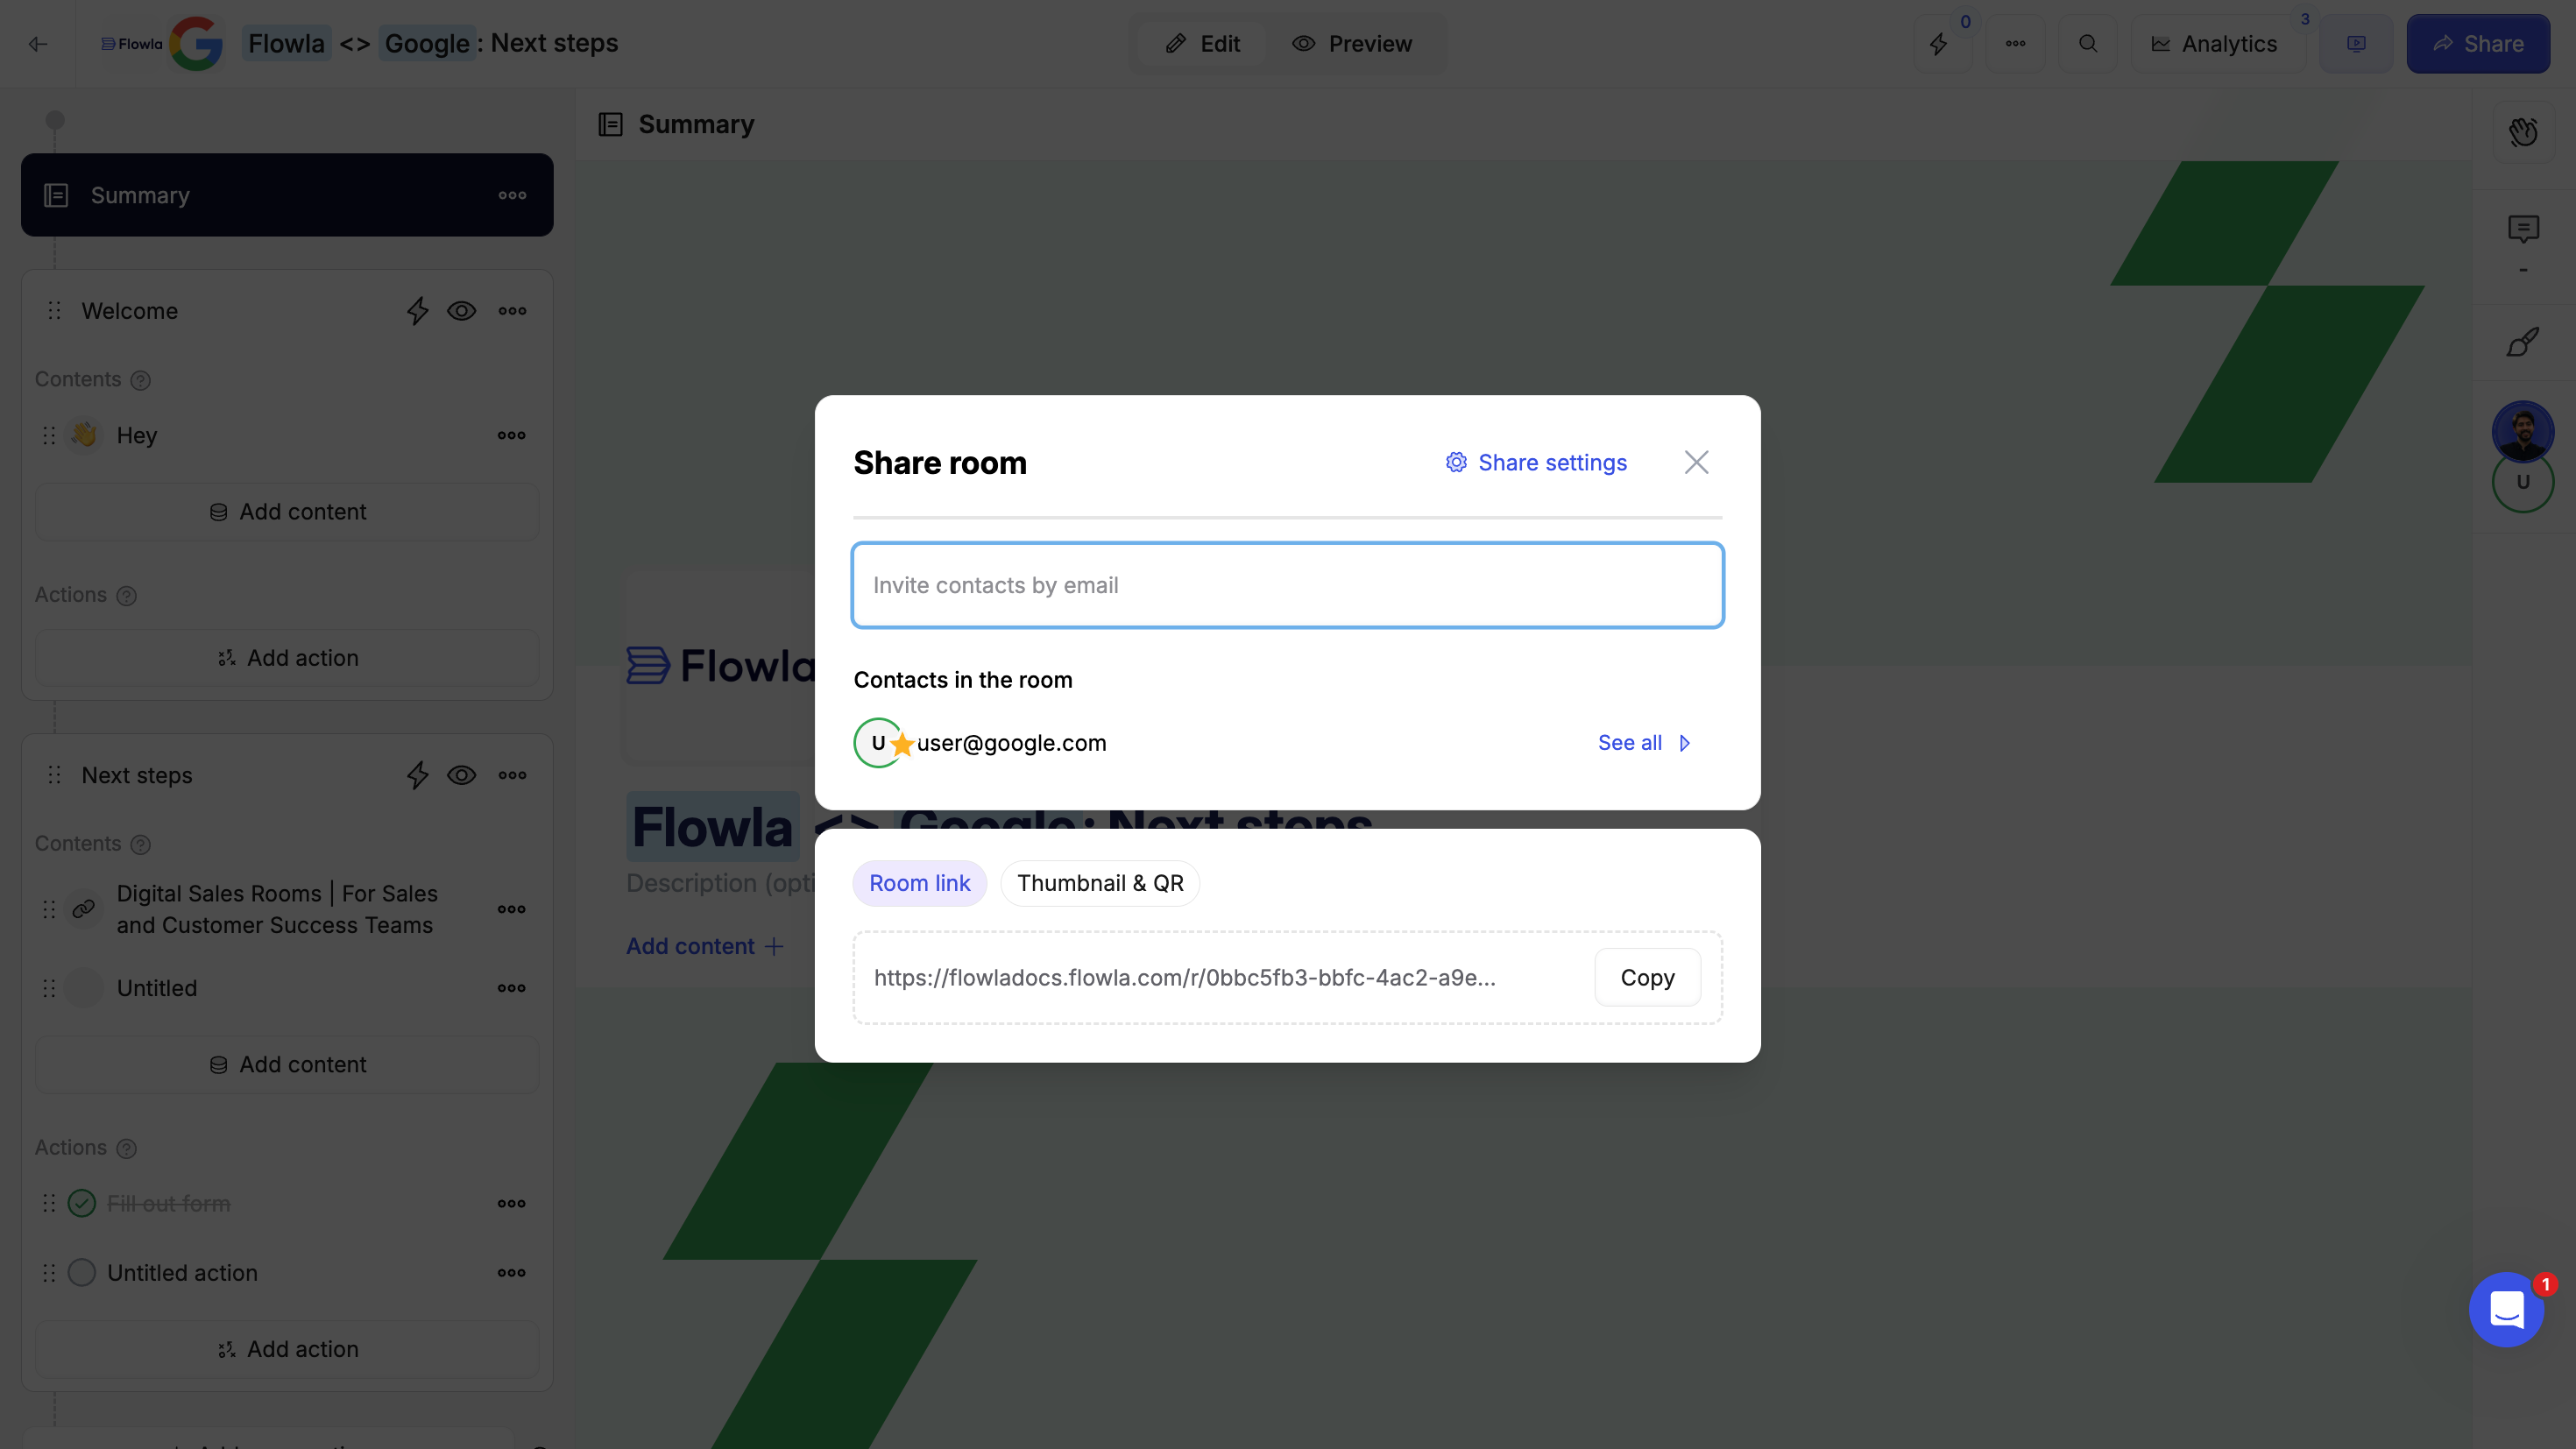
Step 5: Share your room
Your room is ready—now share it with your prospects or customers. You can edit content and actions to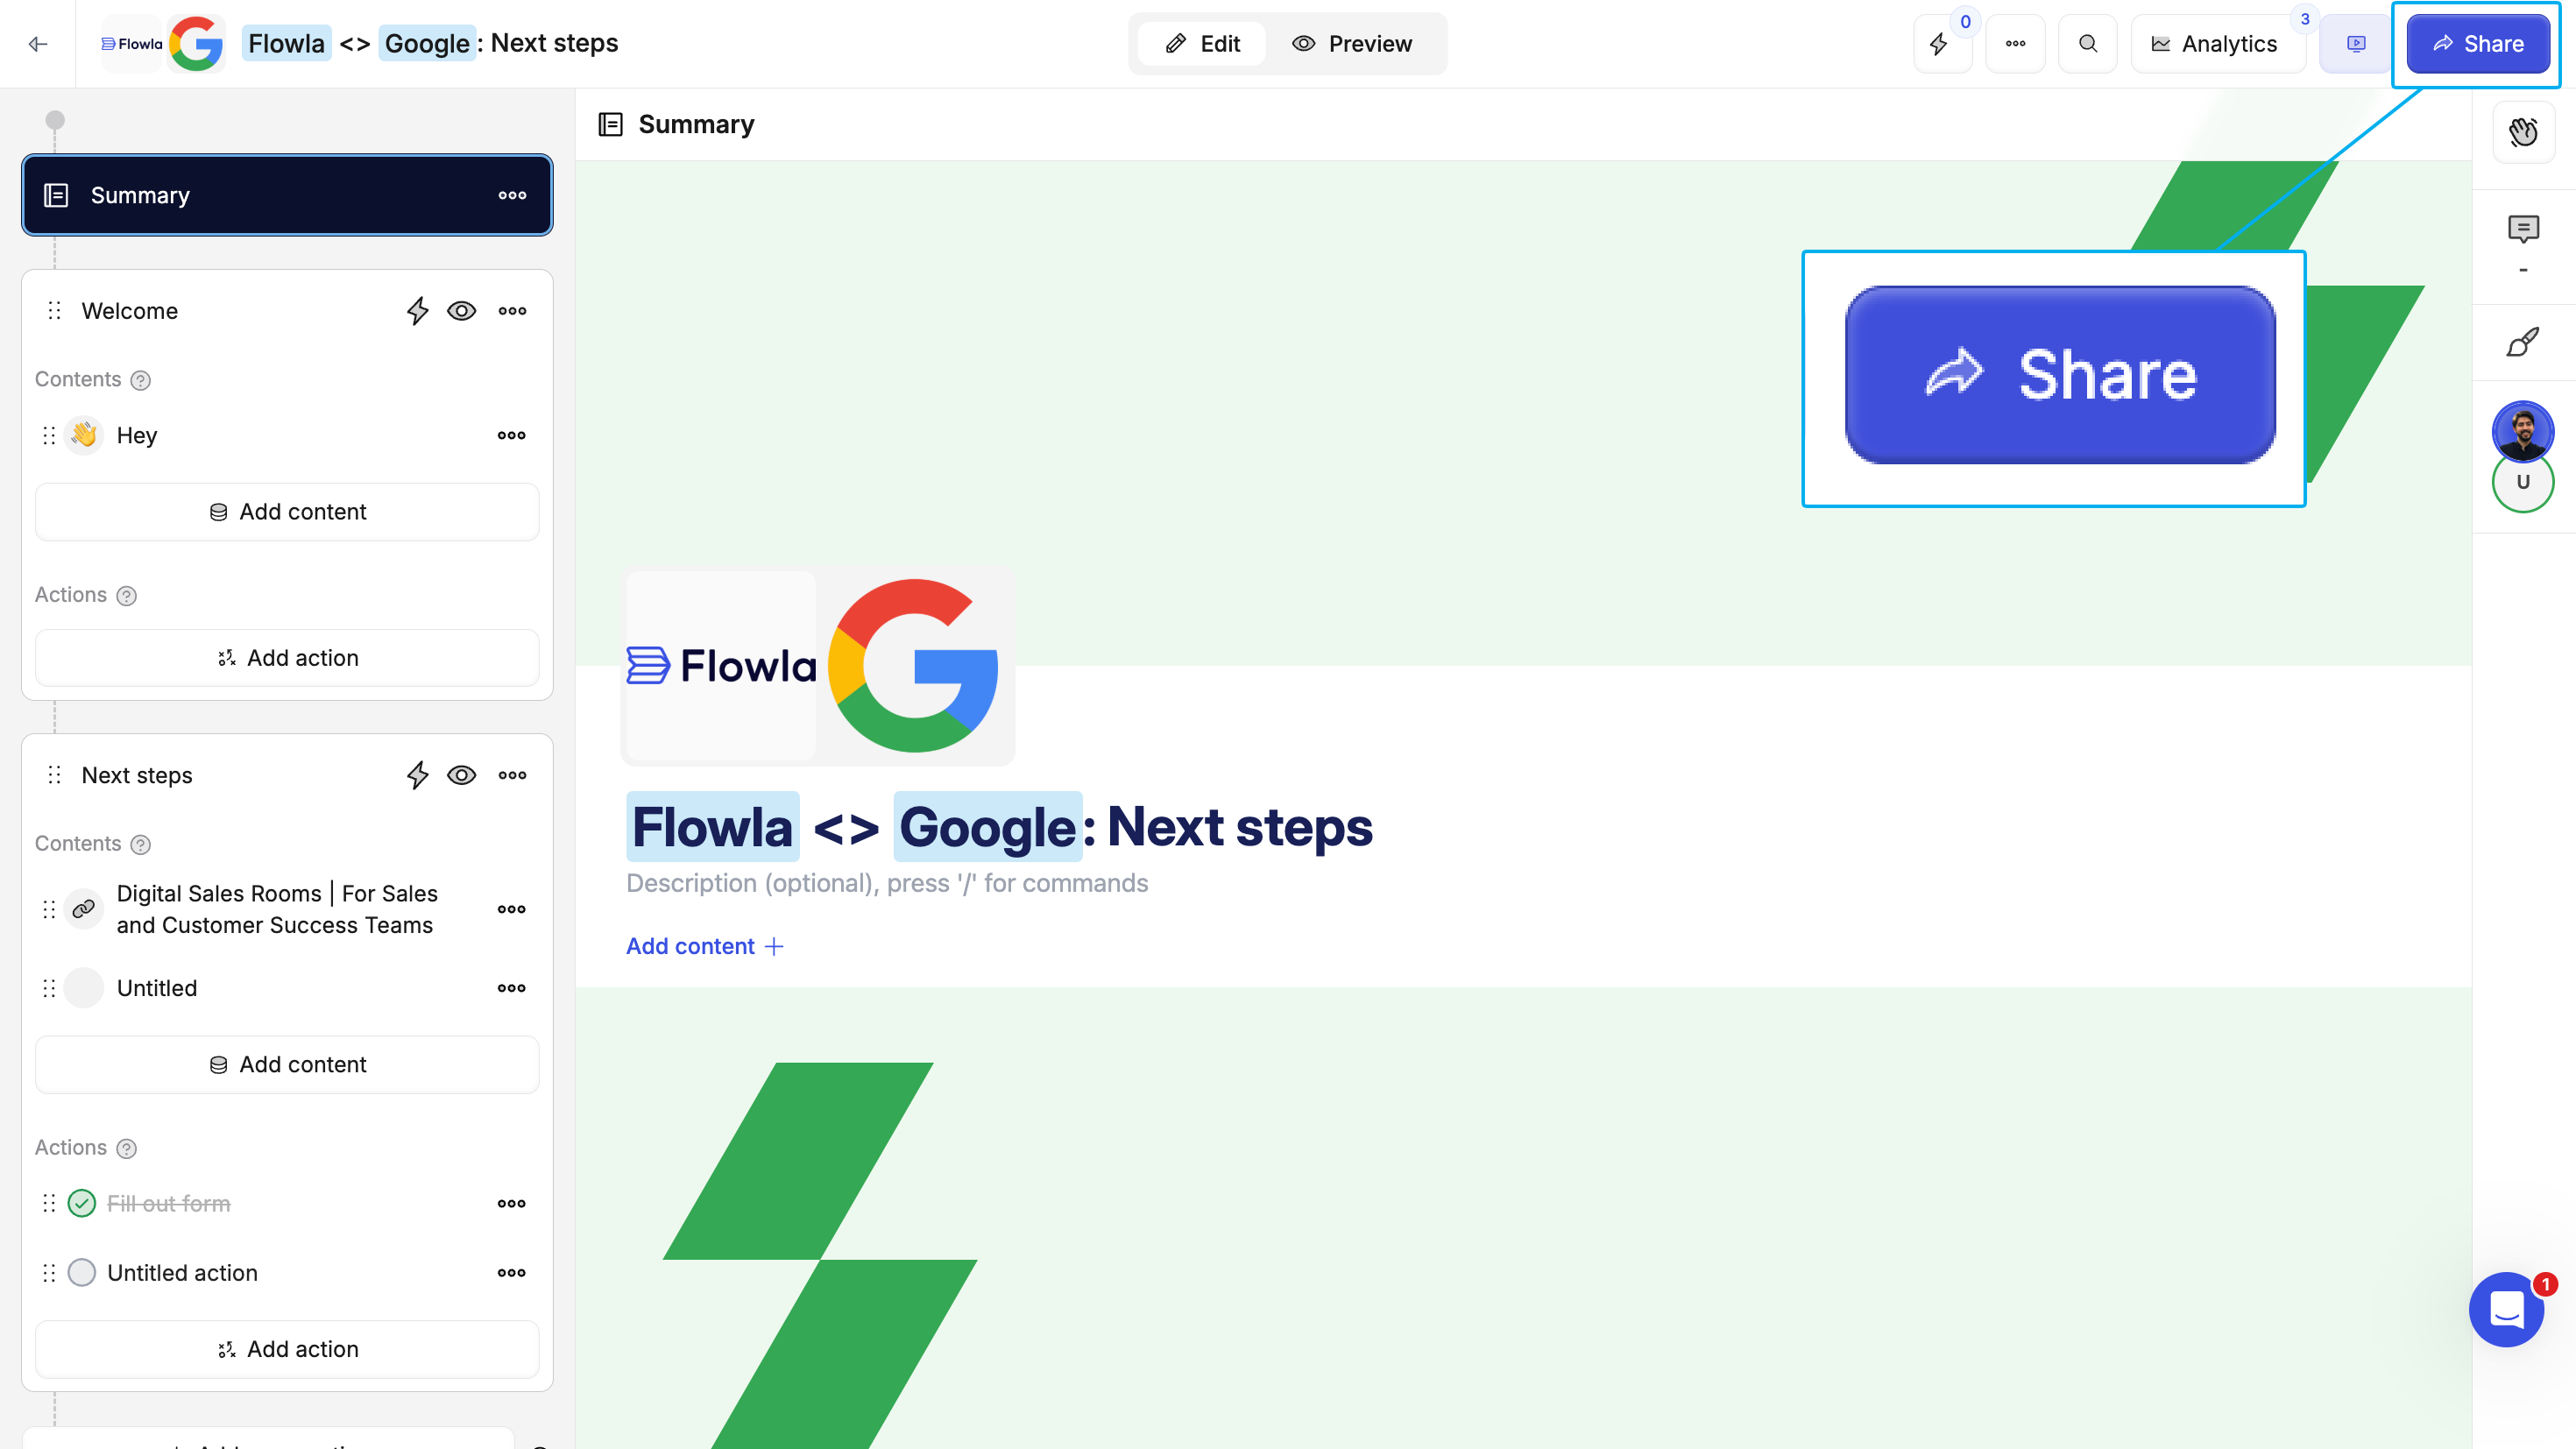
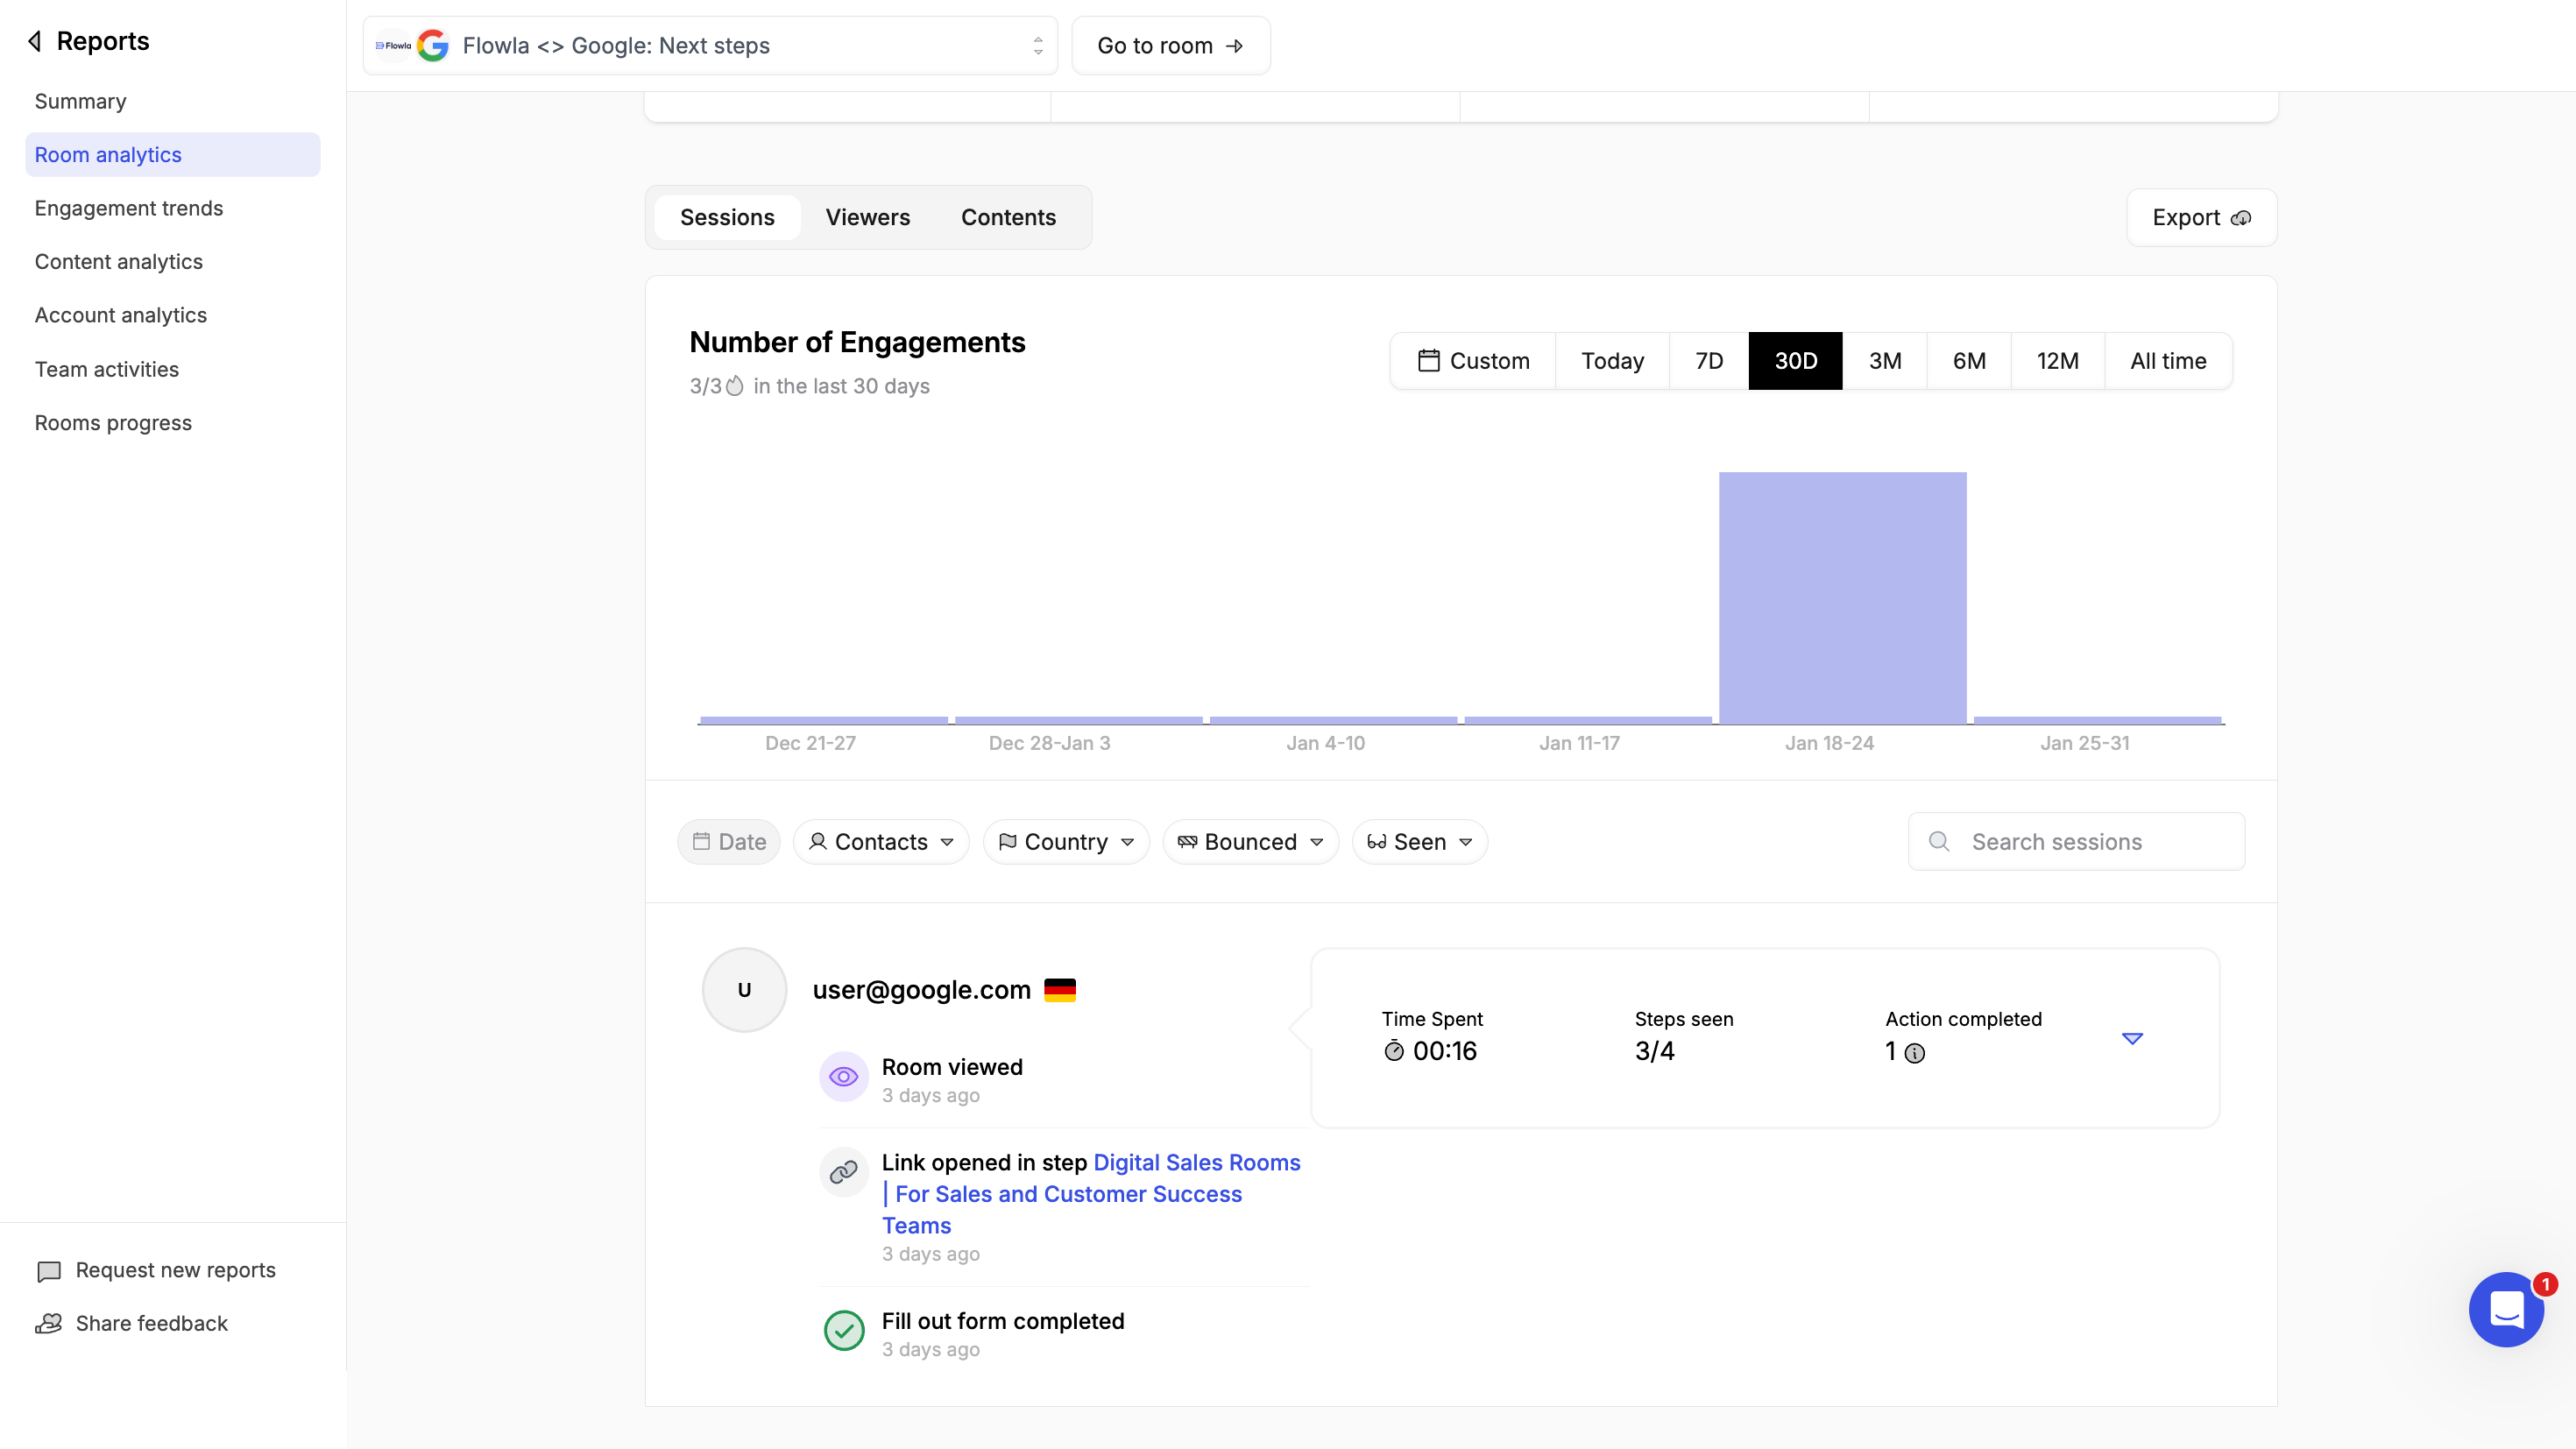
Step 6: Analyze room analytics
Analytics are accessable from inside the room or navigating to reports -> Room analytics -> selecting the room.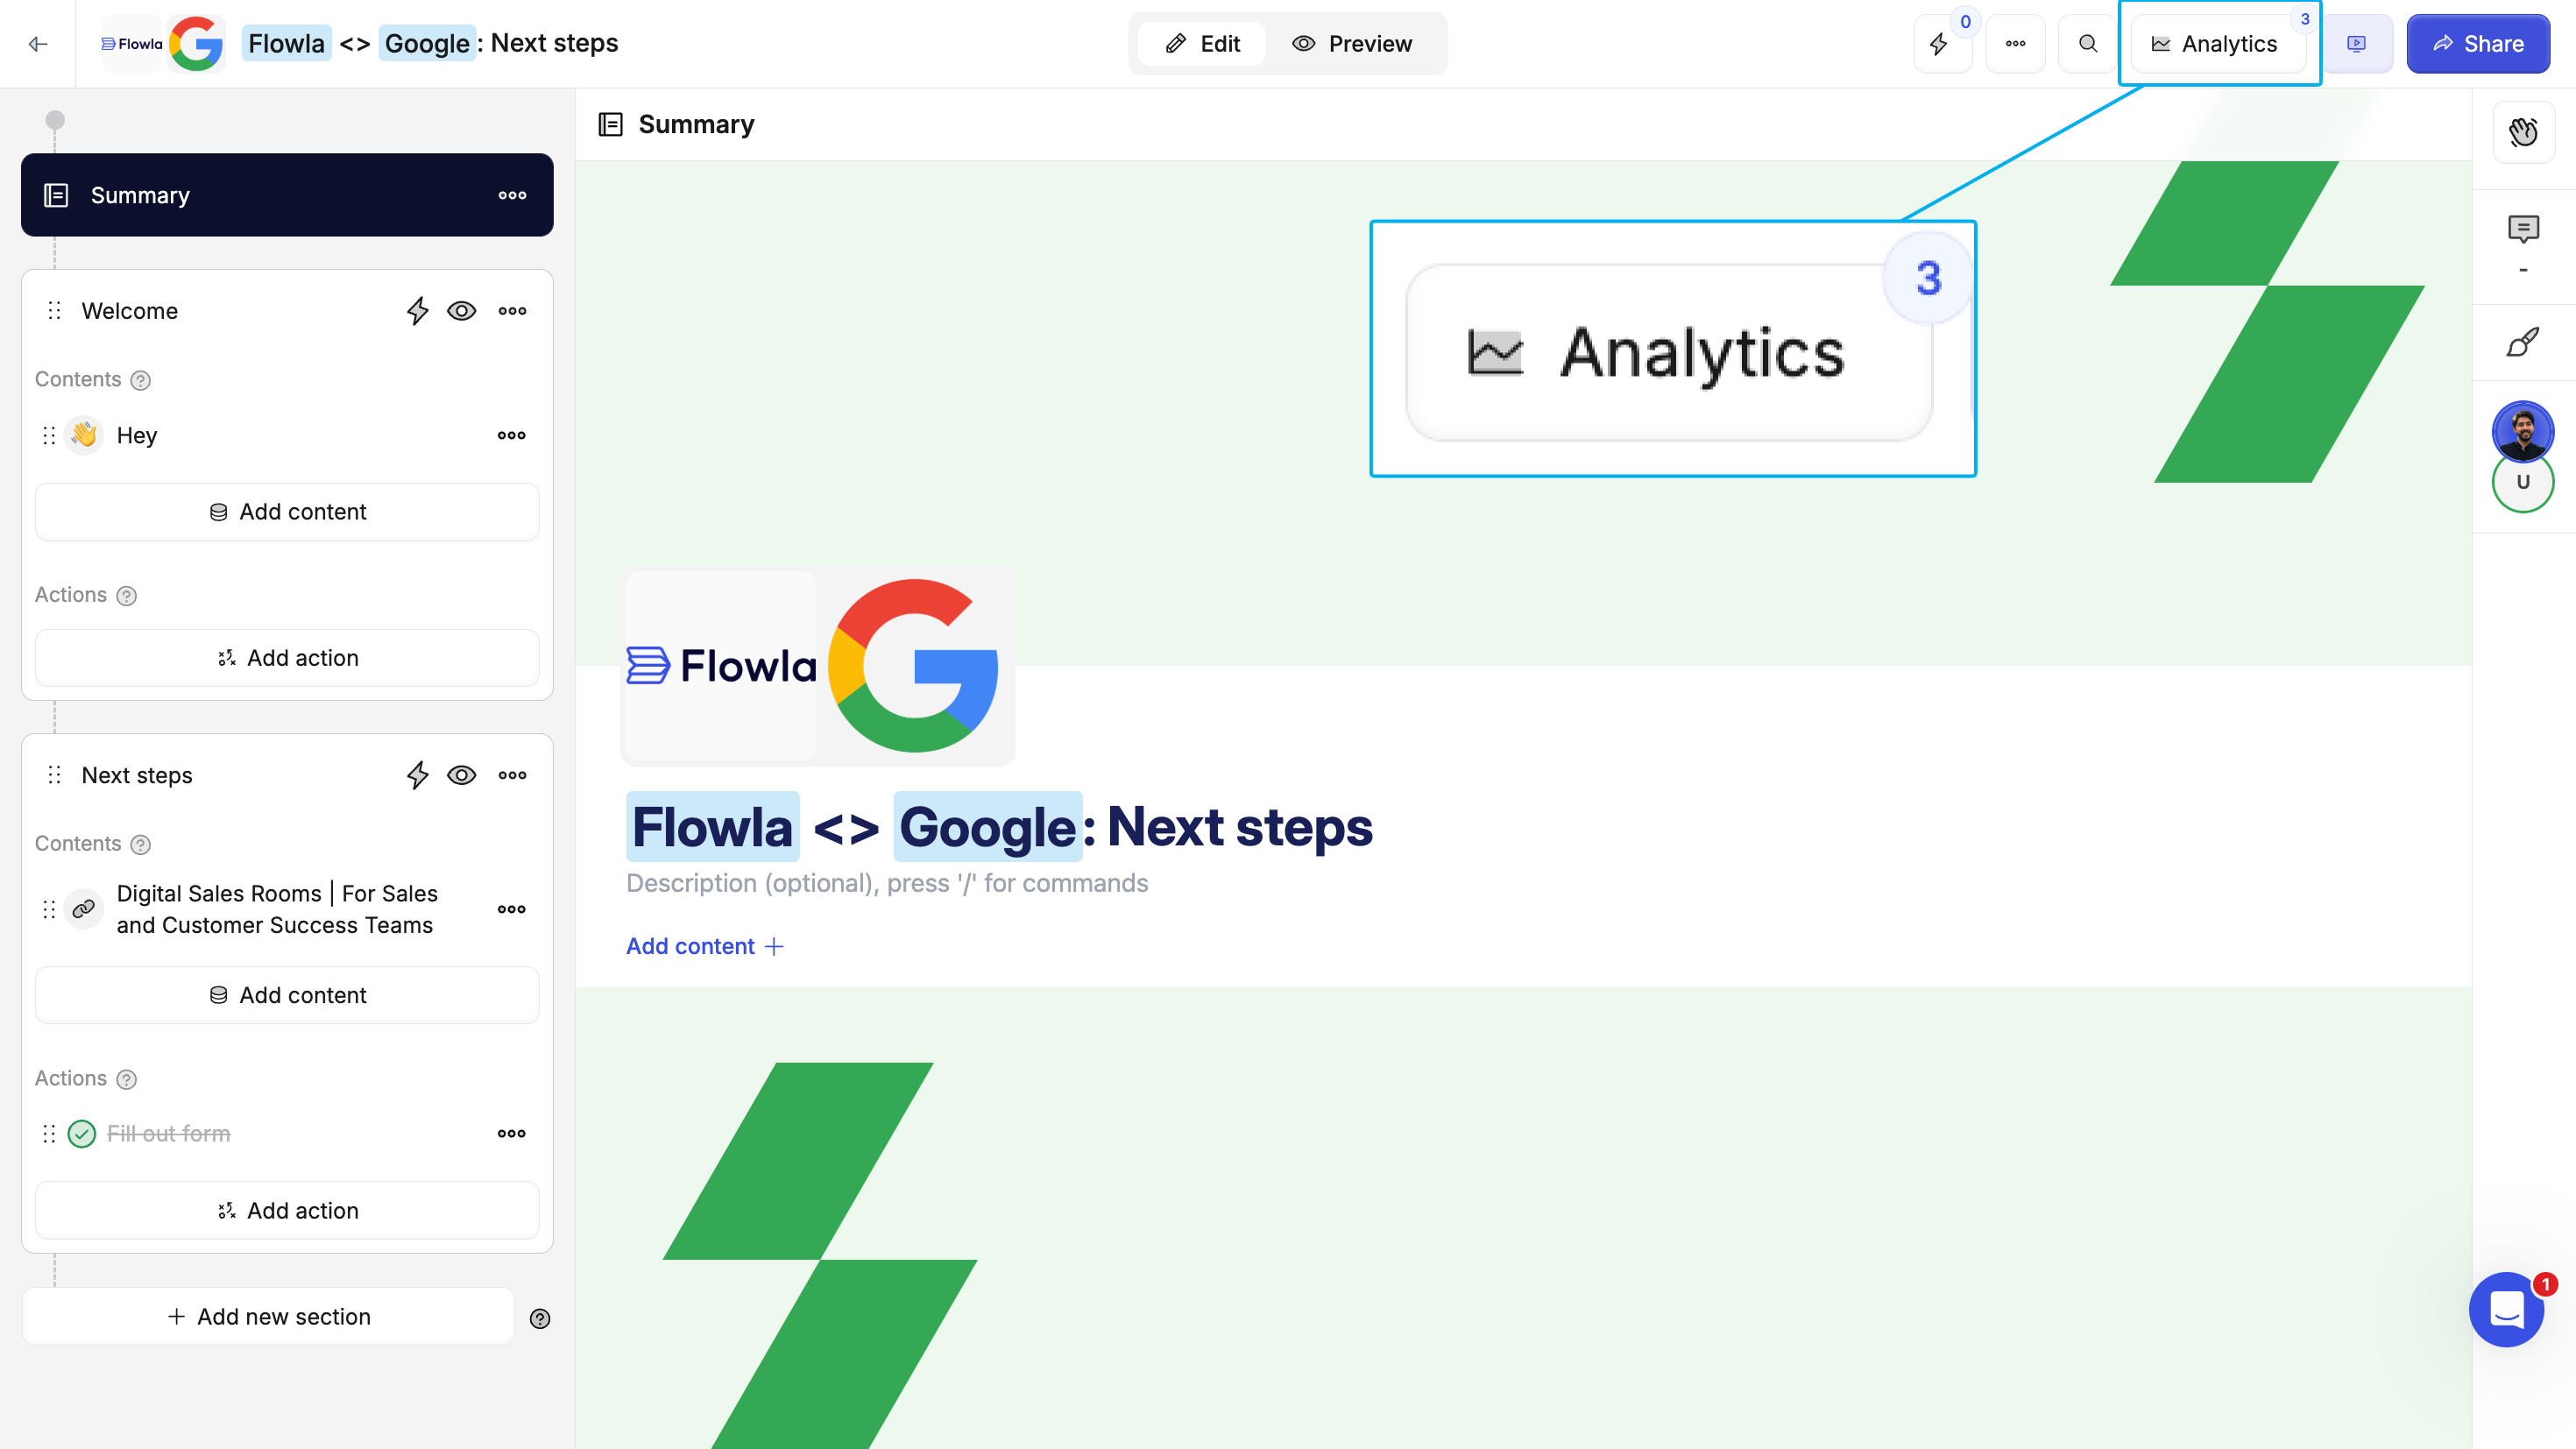
- Who viewed - See which stakeholders opened your room
- When and how often they viewed - Track views over time
- What they engaged with - See which content and sections got the most attention
- Task progress - Monitor action completion times and rates
Best practices
- Start with a template - Don’t reinvent the wheel. Use existing templates and customize from there.
- Keep it focused - Include only what’s relevant to move the deal forward. Too much content overwhelms buyers.
- Use clear section names - Make it obvious what each stage of the process involves.
- Assign actions with due dates - Create accountability on both sides.
- Save successful rooms as templates - When something works, make it repeatable for your whole team.
- Review analytics regularly - Use engagement data to prioritize follow-ups and identify stuck deals.